
Have you ever just wanted something but thought “man that looks like a lot of work, but that would be really cool to build!”. This is one of those projects that I’ve wanted to do for a while but haven’t had the will power (or time) to jump into (also looked overwhelming). Figured now was a good time to give it a shot since I needed a keyboard for home and one for the office (ironically, we’re all going remote in about 1 weeks time).
I’ve loved typing on my split iris for a while now (roughly 4 years) but concavity was calling my name! r/ErgoMechKeyboards tantelized the possibilities in my head and made me want to build a custom one myself. So I did just that and dove head first into building my very own version of this alien looking contraption called a Dactyl keyboard.
why build a keyboard when you can just buy one?
I dont know, this just sounded like a lot of more fun!
I also have a bit of RSI just due to being at the keyboard so much as well as other hobbies in my life, that being the humble bycycle and weight lifting.
I could have bought a keyboard that gave me exactly what I wanted and need without the gigantic amount of effort but where’s the fun in that! I love playing with electronics and hacking around with different hardware. I also wanted something truly special and exactly what I wanted aswell.
how do you even start building a Dactyl?
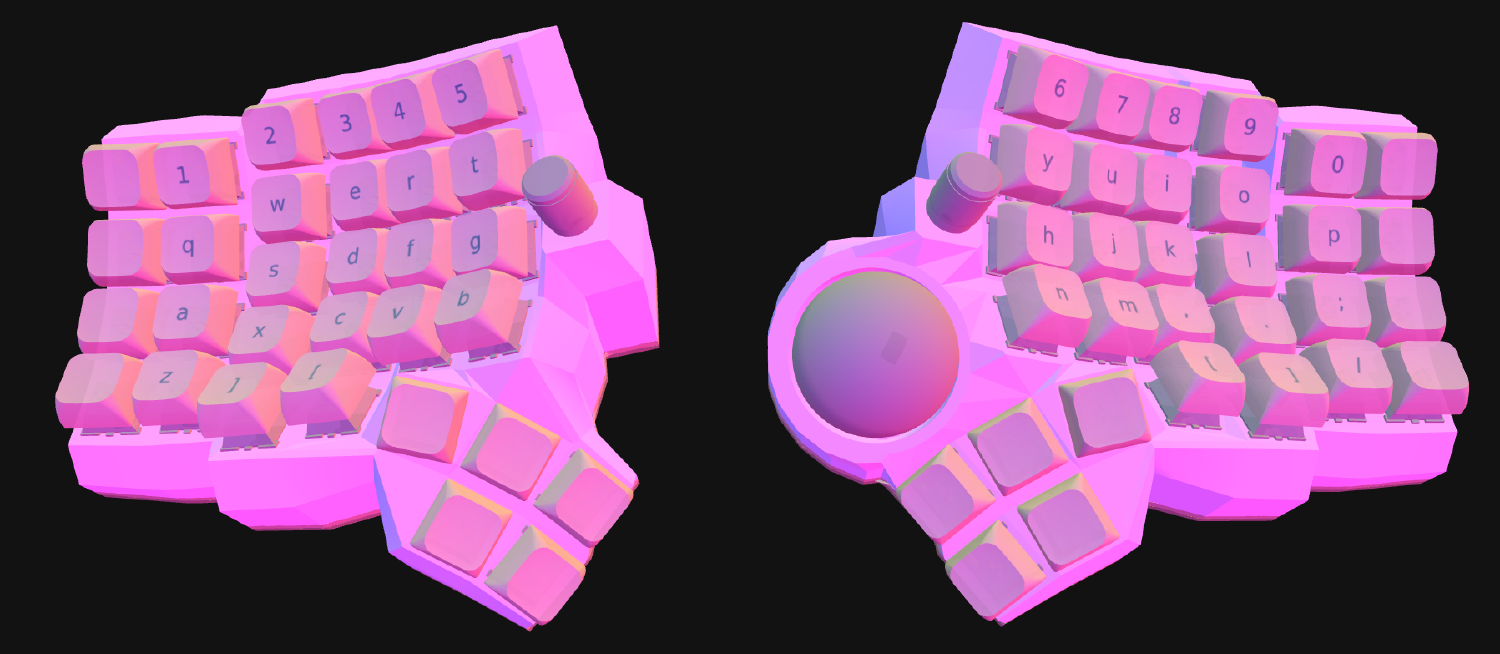
ah, well dear reader, I’m here to tell you theres a magical place on the internet called ryanis.cool (he’s super cool) where you can dive into the cosmos and make your wildest (and weirdest) dreams come true!
Took me a few hours with the tool to come up with the V1 design and going in I wasnt sure exactly what I wanted/needed with the keyboard beyond just concavity with more thumb cluster but heres the rough V1 design I came up with.
After looking through the exhaustive parts list that the generator made and hunting down, ordering, and paying for all the parts, I waited… and waited… and waited some more…
After about two or three weeks and my wallet still crying a bit from the exahaustive list, I finally got all the parts to start assembly over christmas break! (at least that was the plan until i got sick). Fastforward a few weeks later, to MLK weekend… Now we can assemble!
to paint or not to paint
The theme of the build that I was going for, a “cozy coffee shop vibes” kindof keyboard and I wanted to paint the thing an espresso brown. After some thought, figured I’d have a few more iterations on the keyoard (one of them being dual trackball?) I didnt’ see reason to paint the thing yet.
I also didn’t give much thought and bought the expensive ABS print, which might I say feels SOLID, but def could have saved me some cash if I would have done PLA for the lower versions.
I’m for sure happy with the print and will prob use it for at least a month or two before making another version of the print with the tweaks I want based on building it out first try.
get on with it!
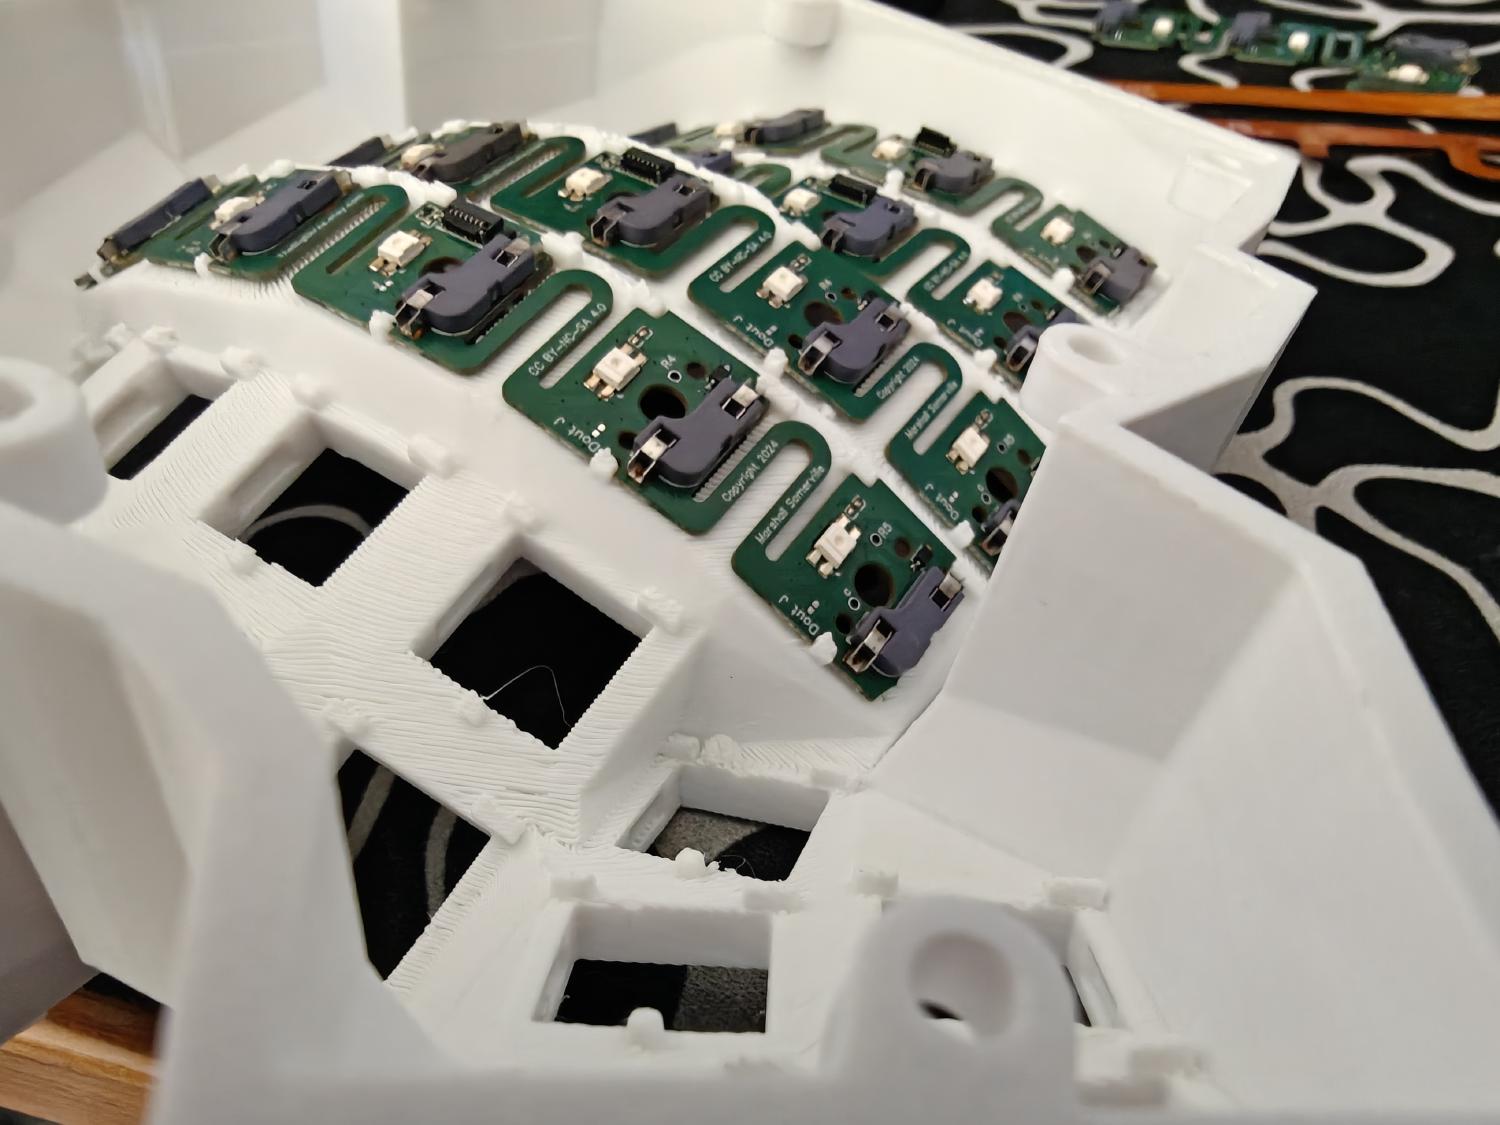
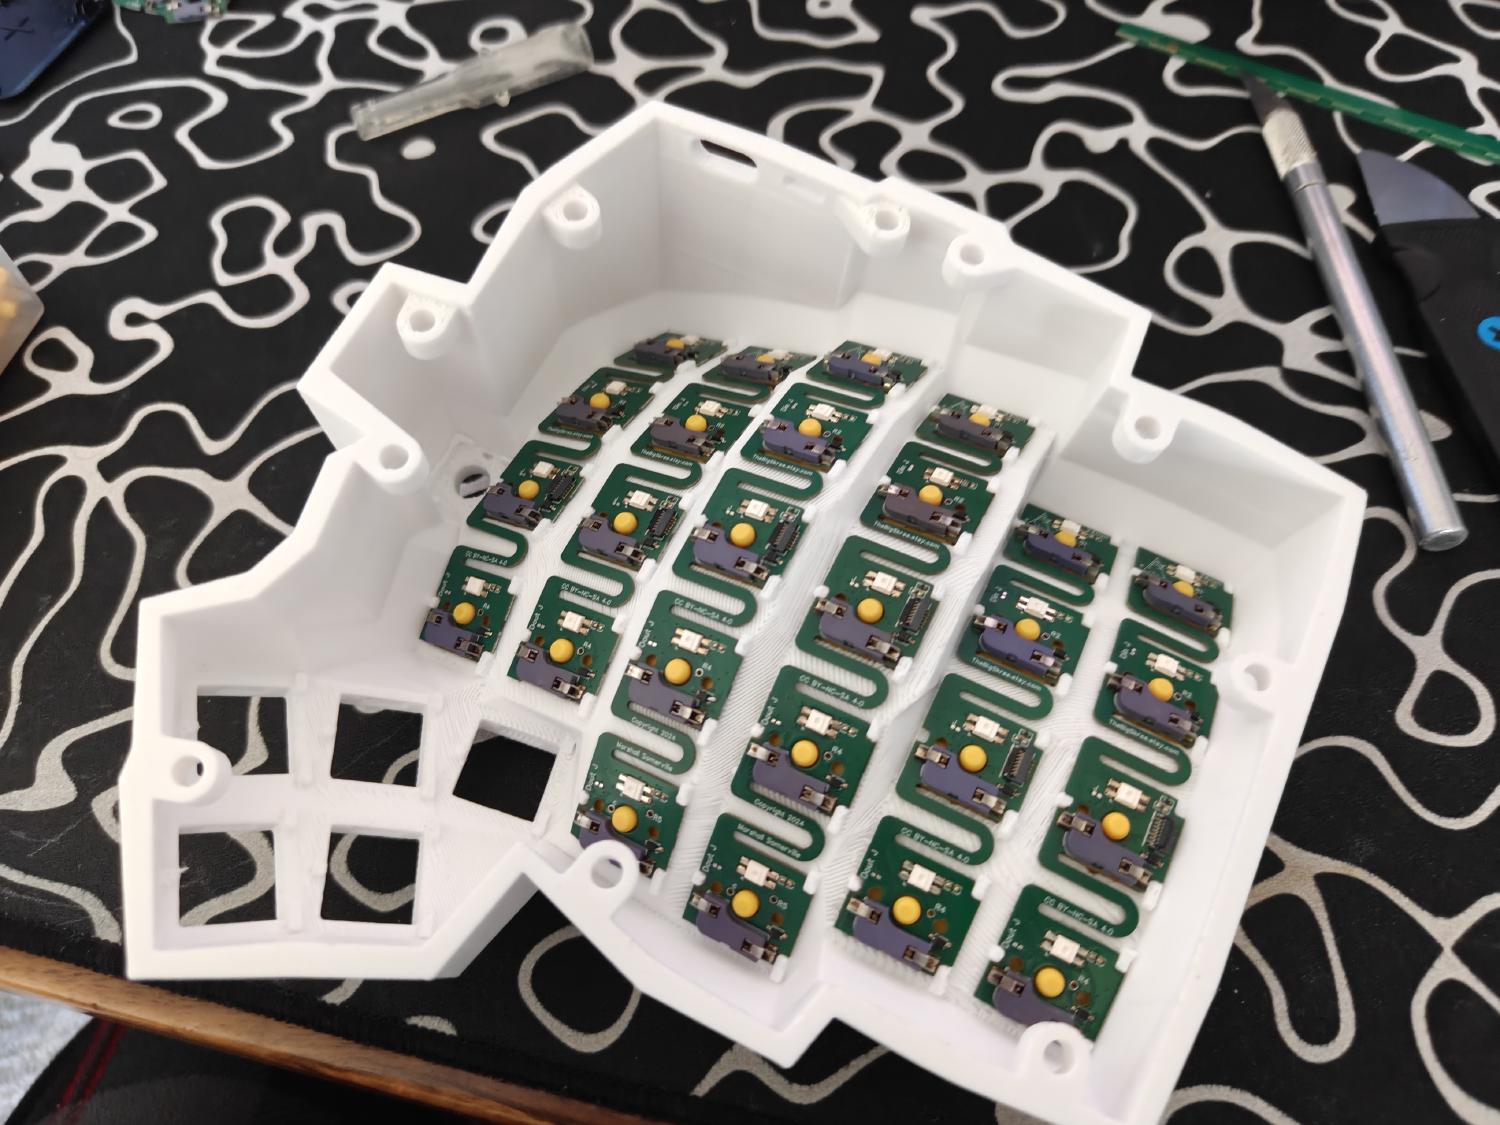
I wasn’t sure where to start but I pulled out some tools that I’d thought Id need and started laying out all the components and making sense of what went where. I decided the first piece I should tackle is the PCB. I had never worked with a flexible PCB before so I was a little scared to break the dam thing out
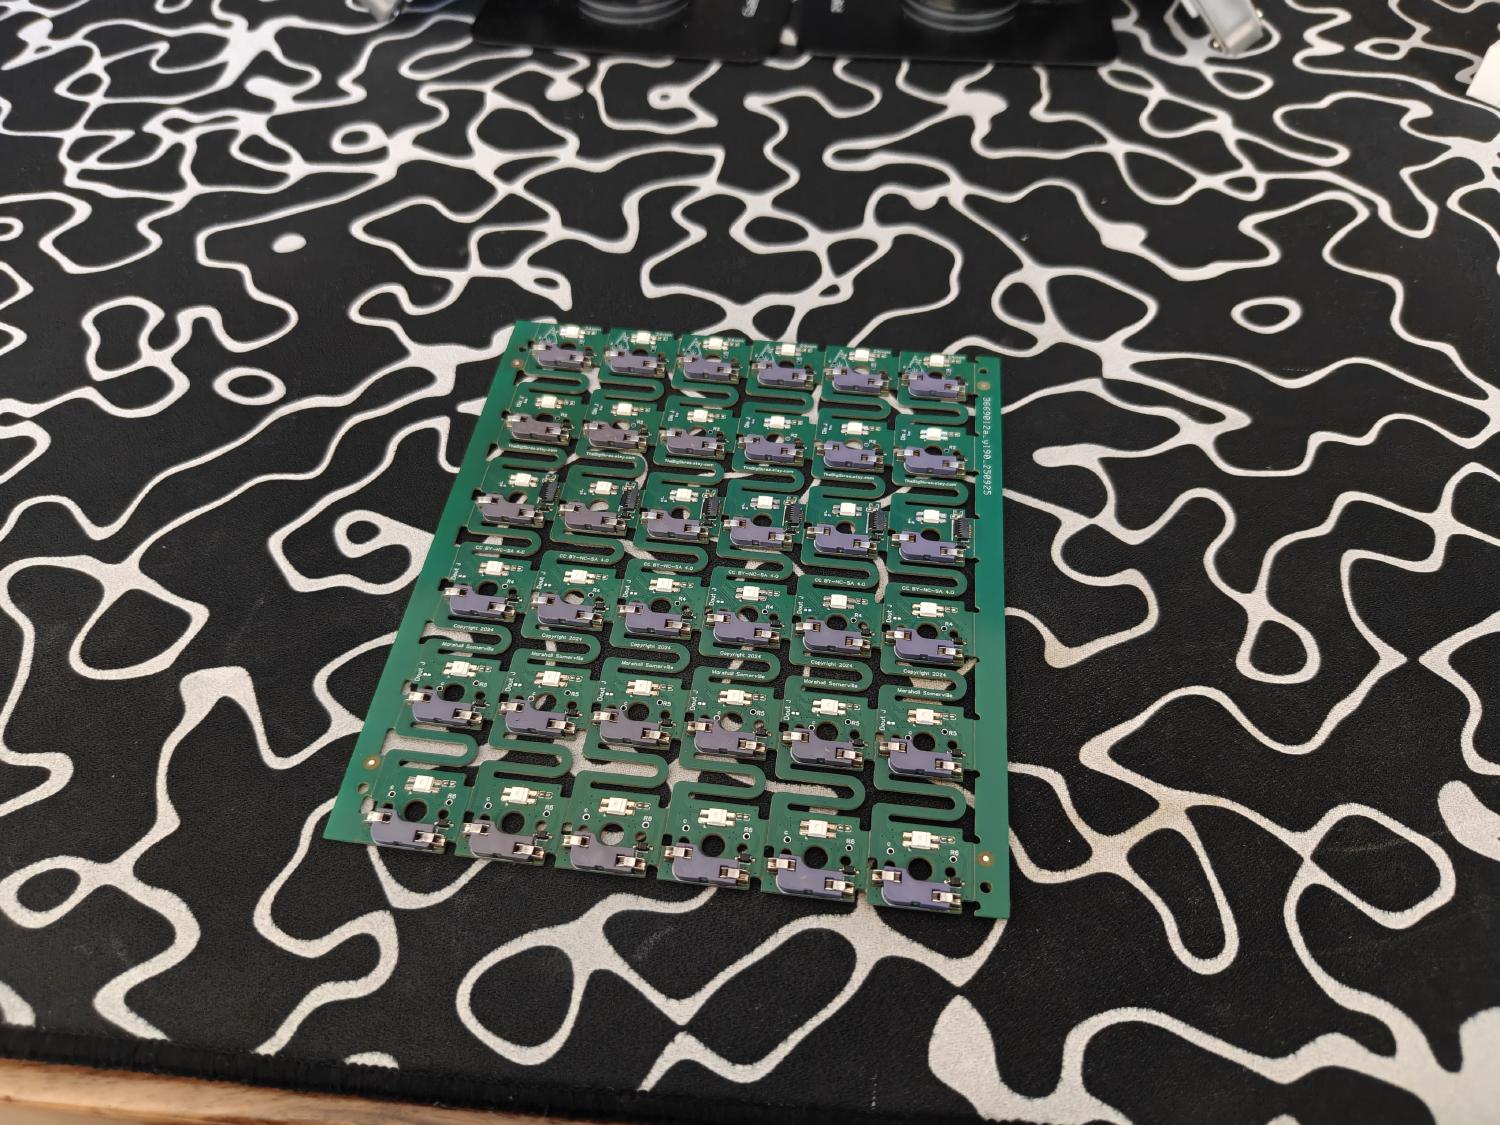
Turns out it wasnt so bad after all. Definitely fragile and needed care but wasnt too much that my brute and shakey cafinated hands couldn’t handle.
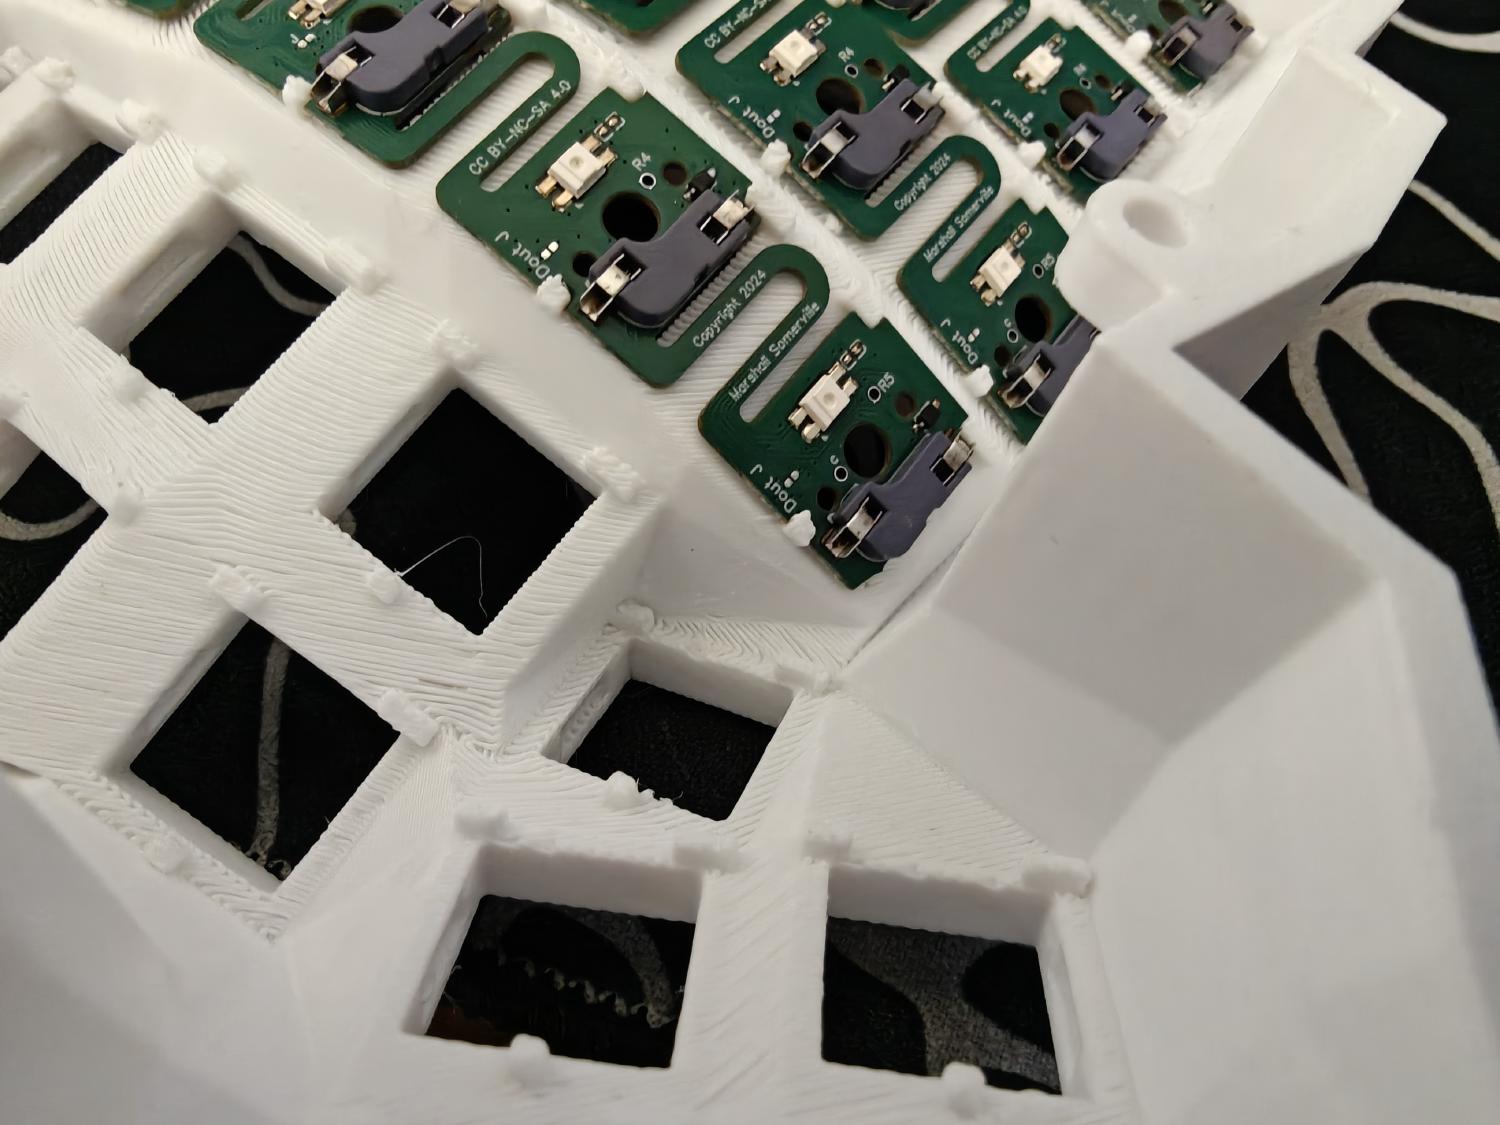
I then began clicking in the PCB to the 3D printed case. This is where I wanted my first tweak to my case and that was to have some sort of backing plate that I could screw in to and hold down the PCB. Some of them clicked and held in but others did not just due to just the imperfections in the print.
looking back, I should have waited for the pumpkinpatch PCB’s but I wanted to keyboard sooner rather than later and the skree’s where tried and true and are a really good option from what I read online. I will probably hot glue these down or in my next print, fasten them down with some sort of screwable backing.
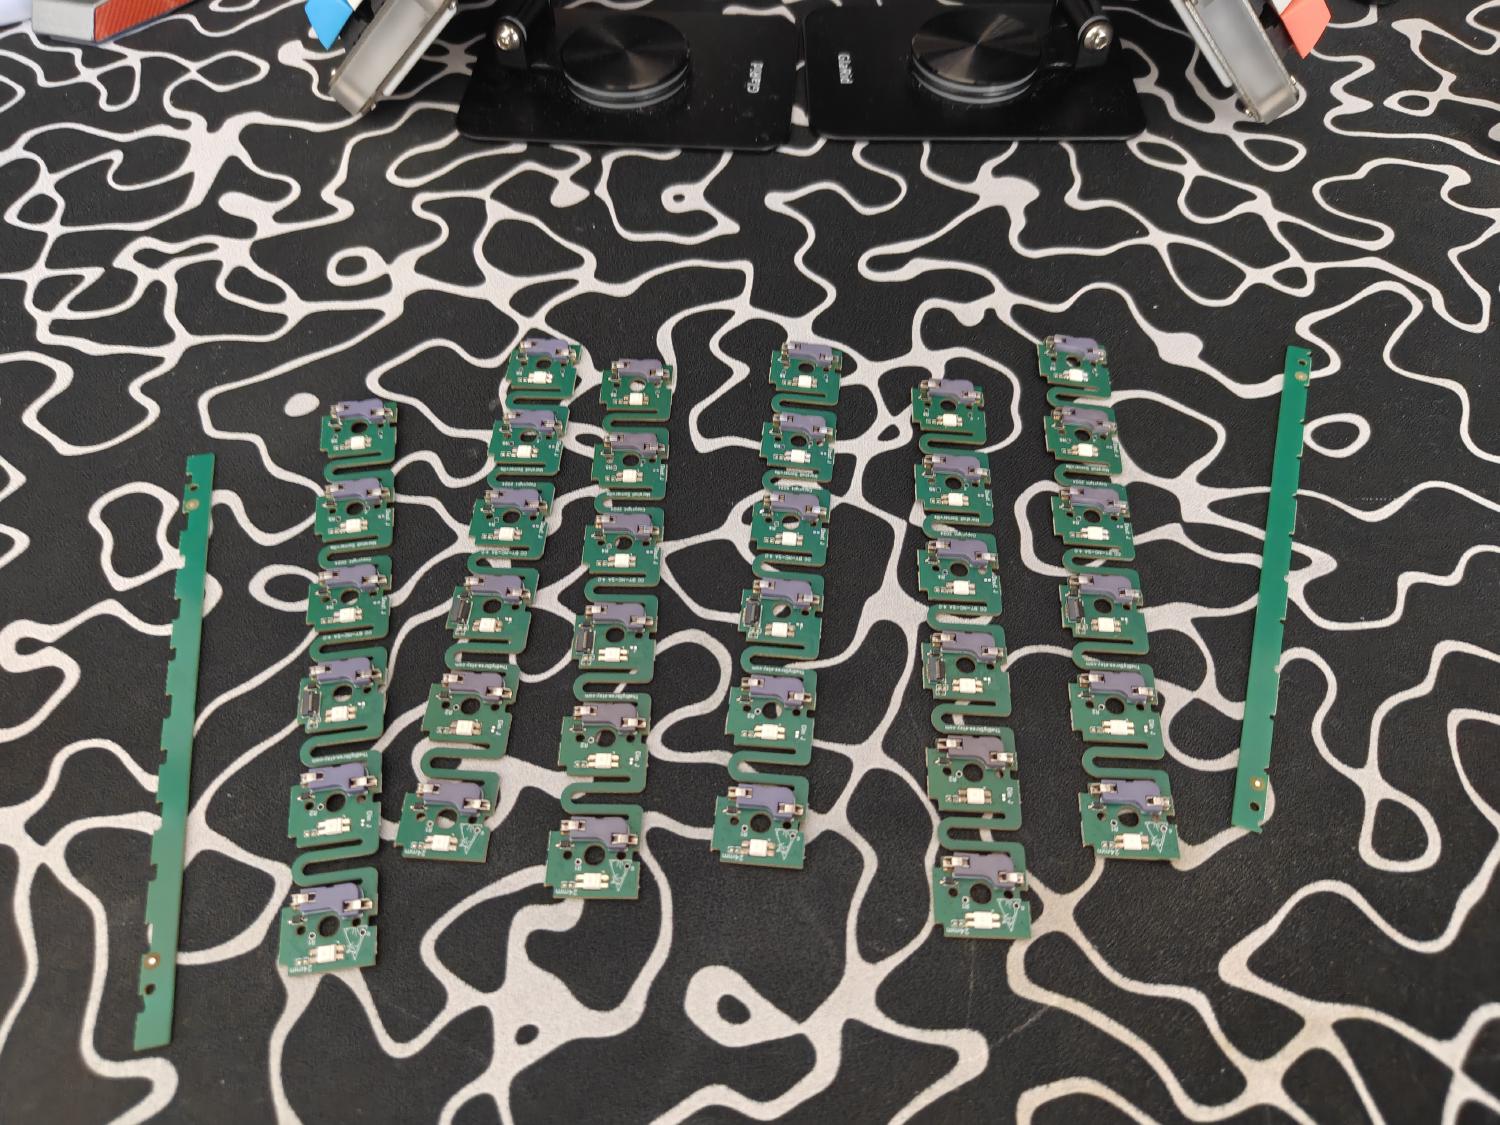
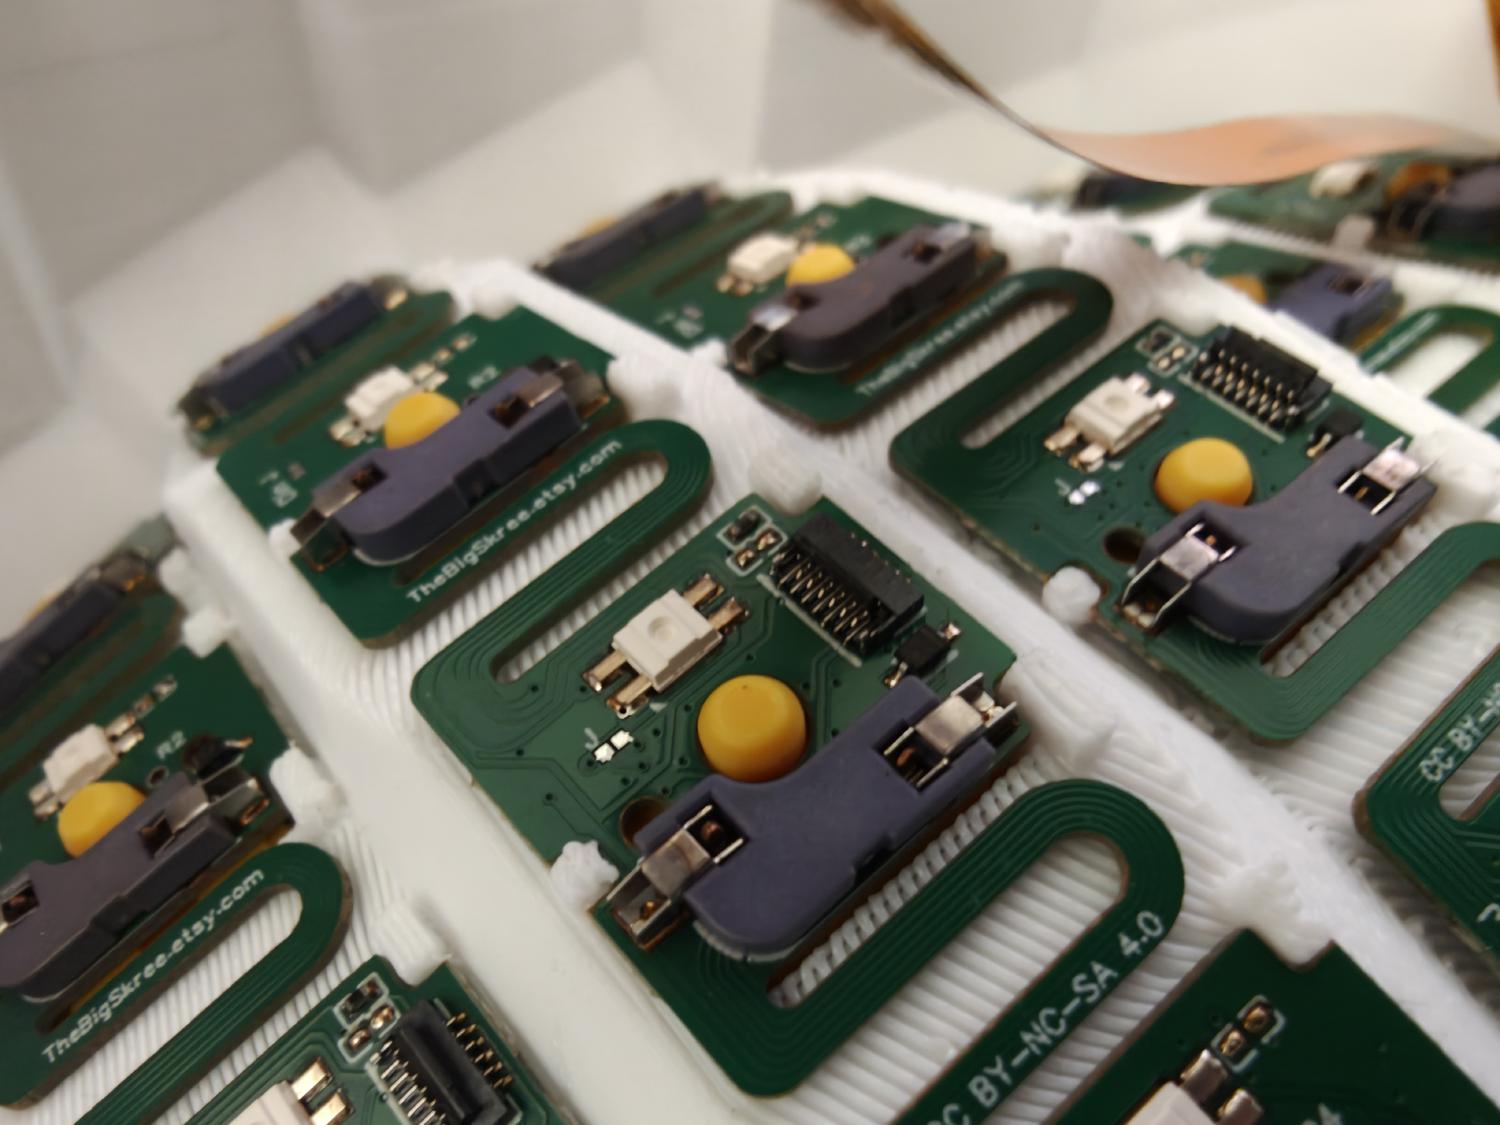
Next, I wanted to try with a scrap piece that I had cut from the skree PCB if I could make that really tight corner…
Turns out that was DEF not the case and I snapped that sucker in half!
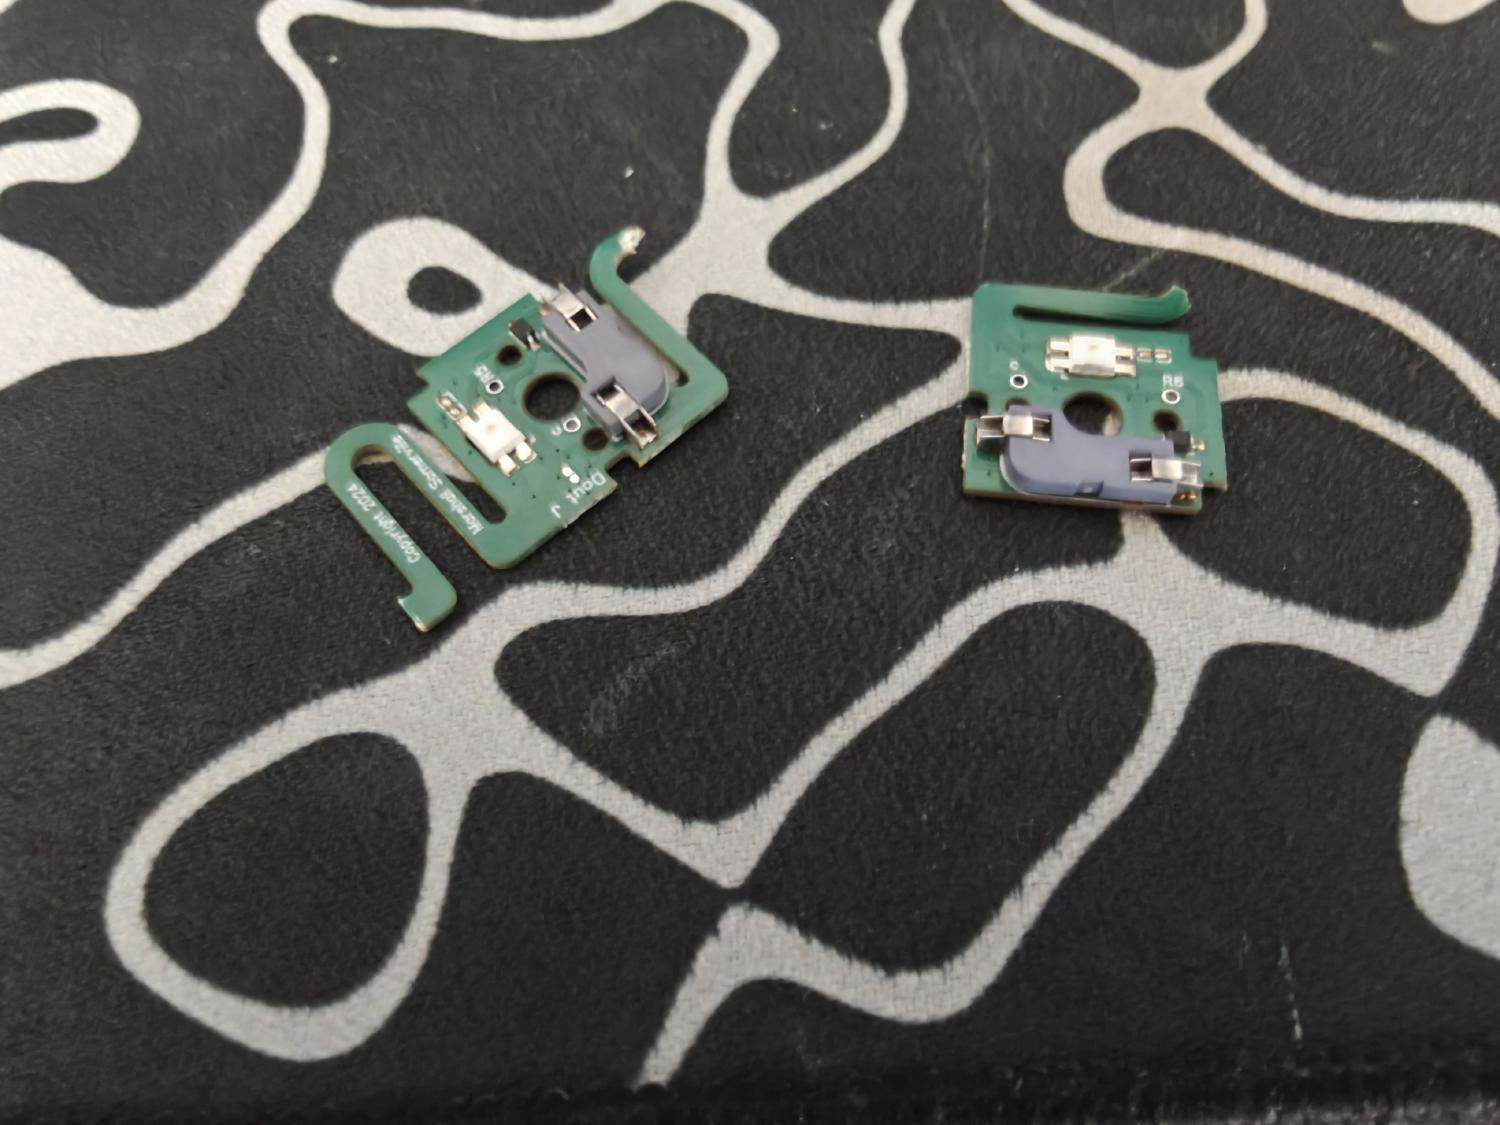
I also tried on the other tight corner and alas that was also the case. I was hoping I didn’t need the skree thumbs but I for sure did.

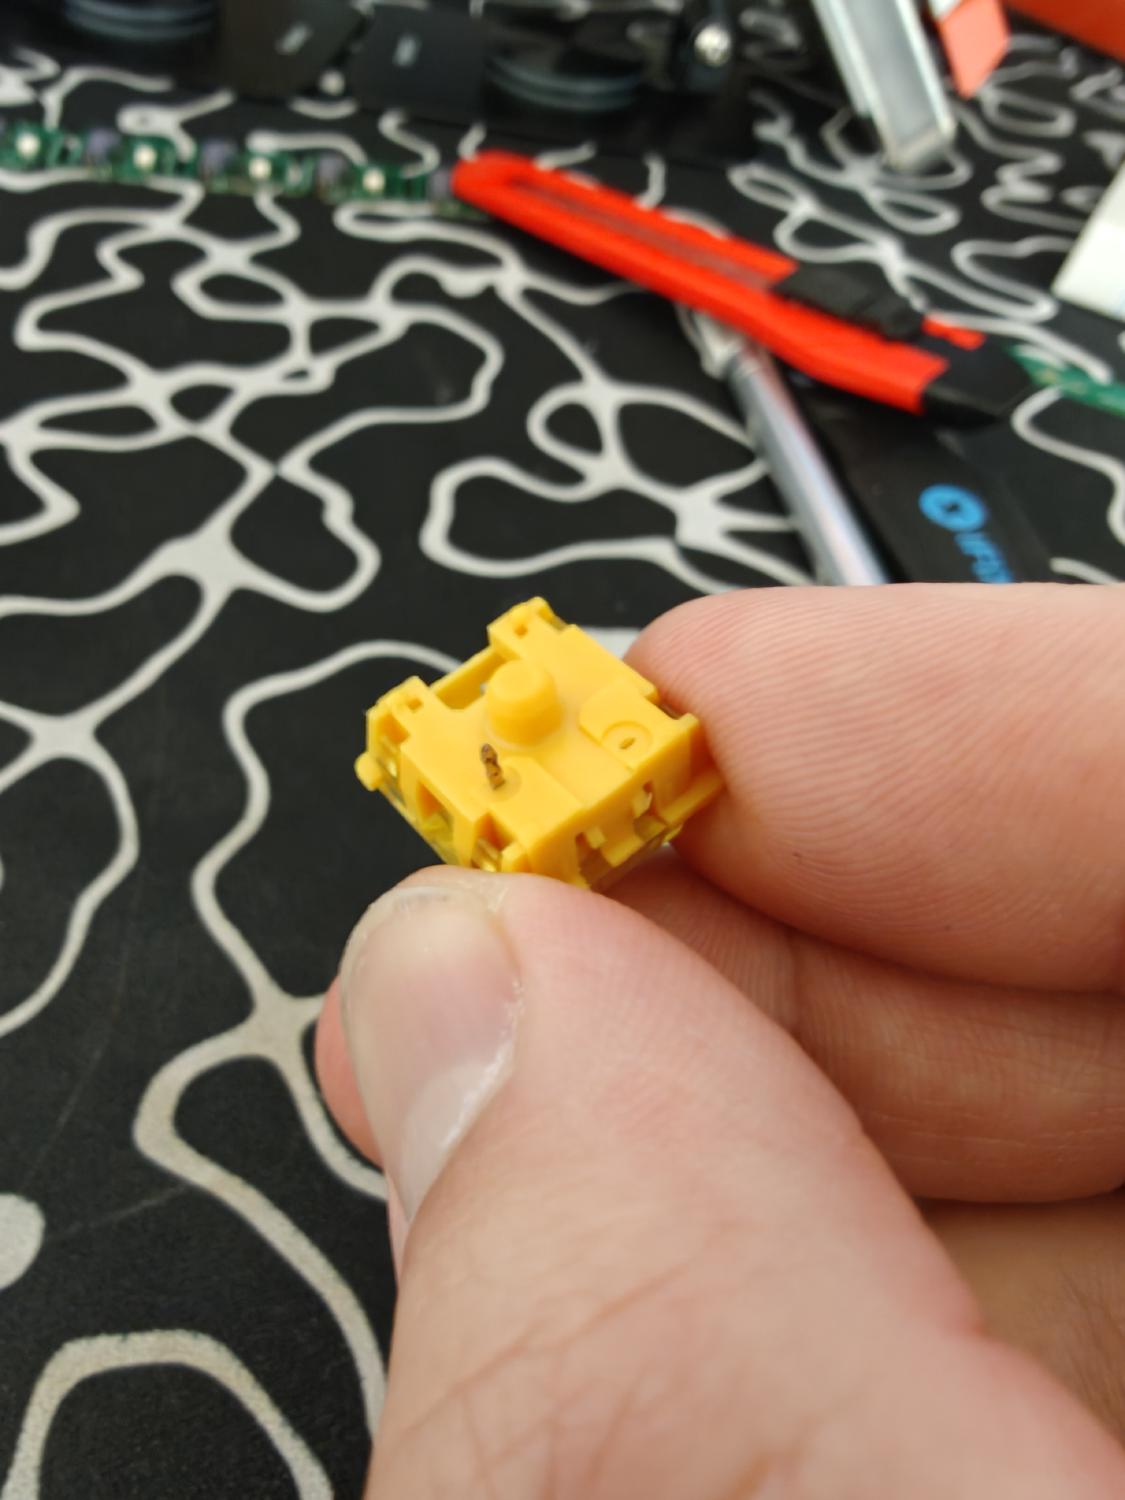
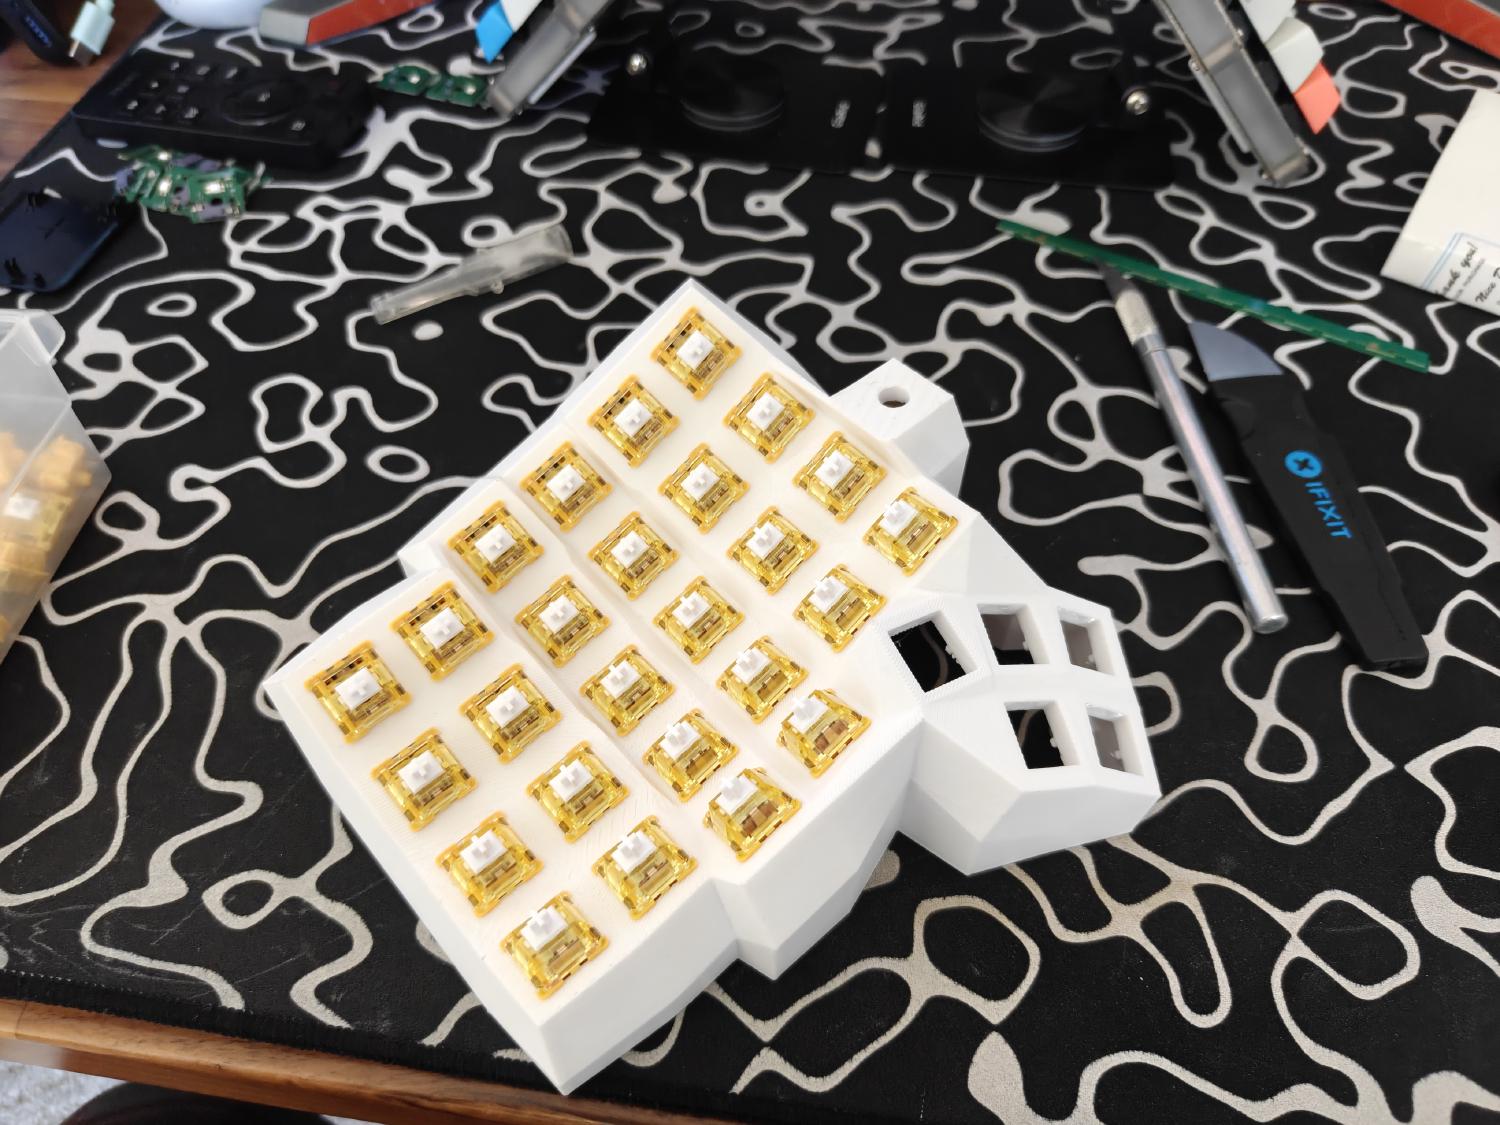
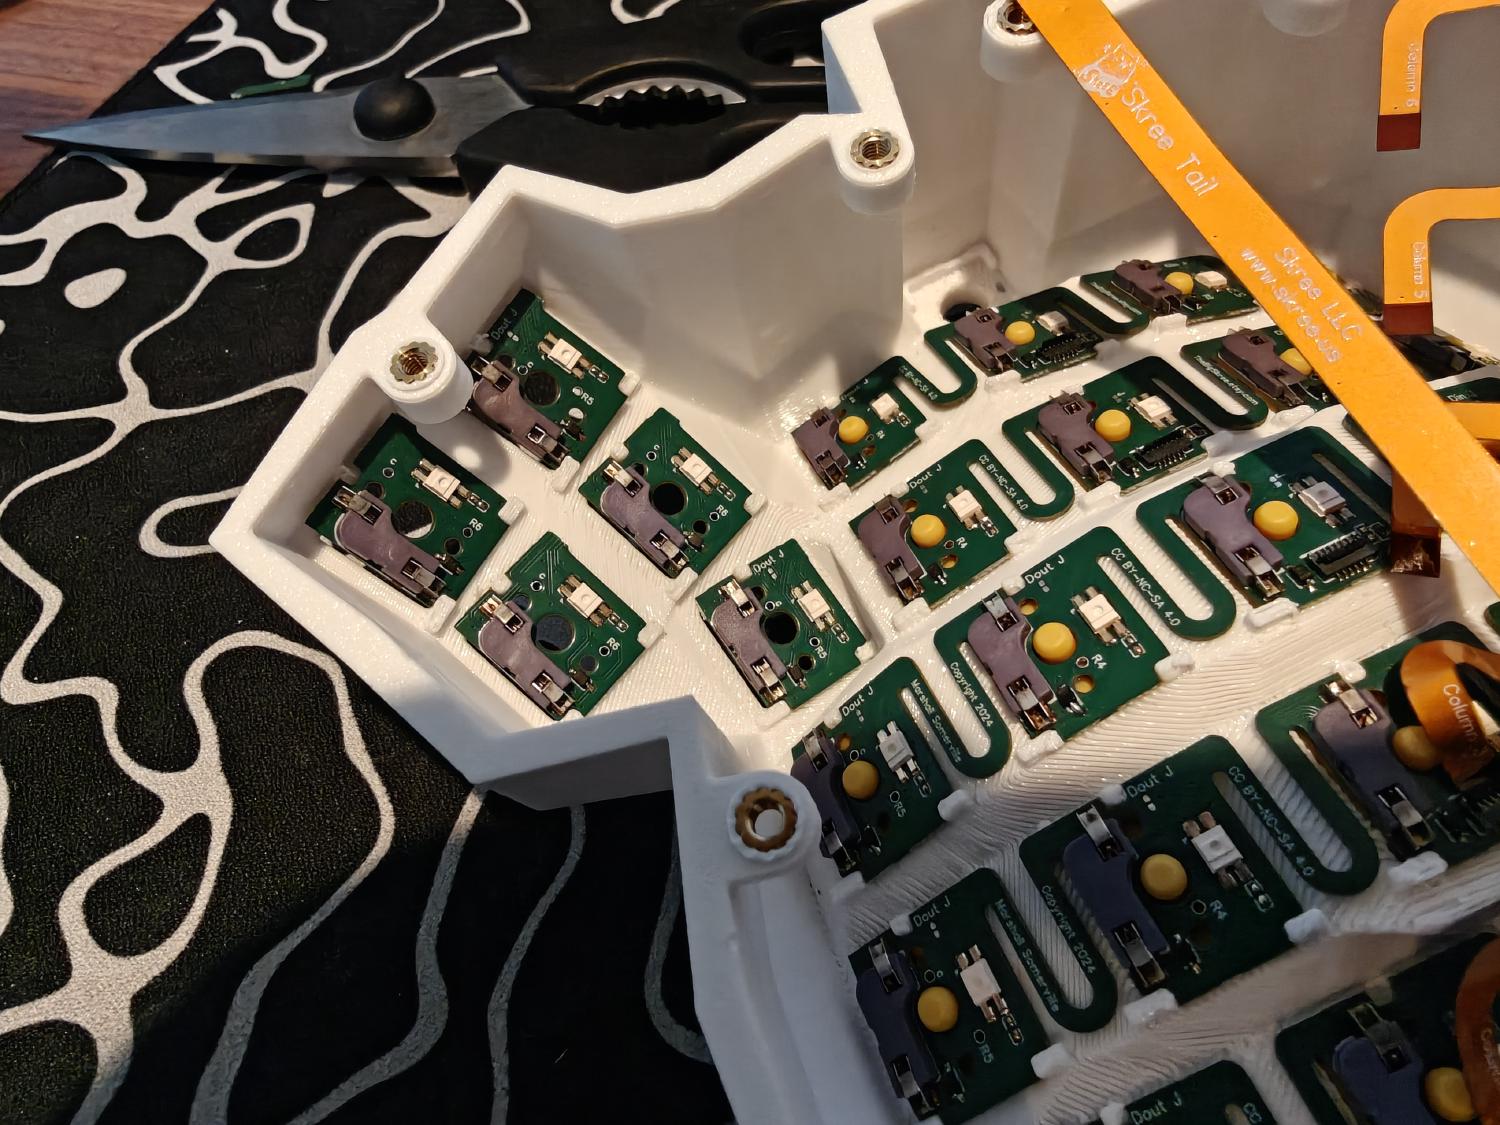
I then started installing the switches, as I did notice that they kept the PCB in place pretty well from testing one or two switches.
I then snapped one of the prongs, dam!
It was at this moment I realized that I also needed the individual PCB’s as well for the thumbs. I didn’t know there was separate PCBs as an option for the thumbs until I looked at skree’s website… I prob should have consulted the discord a bit before buying but I always like to “figure things out” in my own stoubern way. Makes projects like this a little more fun though :3
With that, I got all the switches in that I could install and moved on.
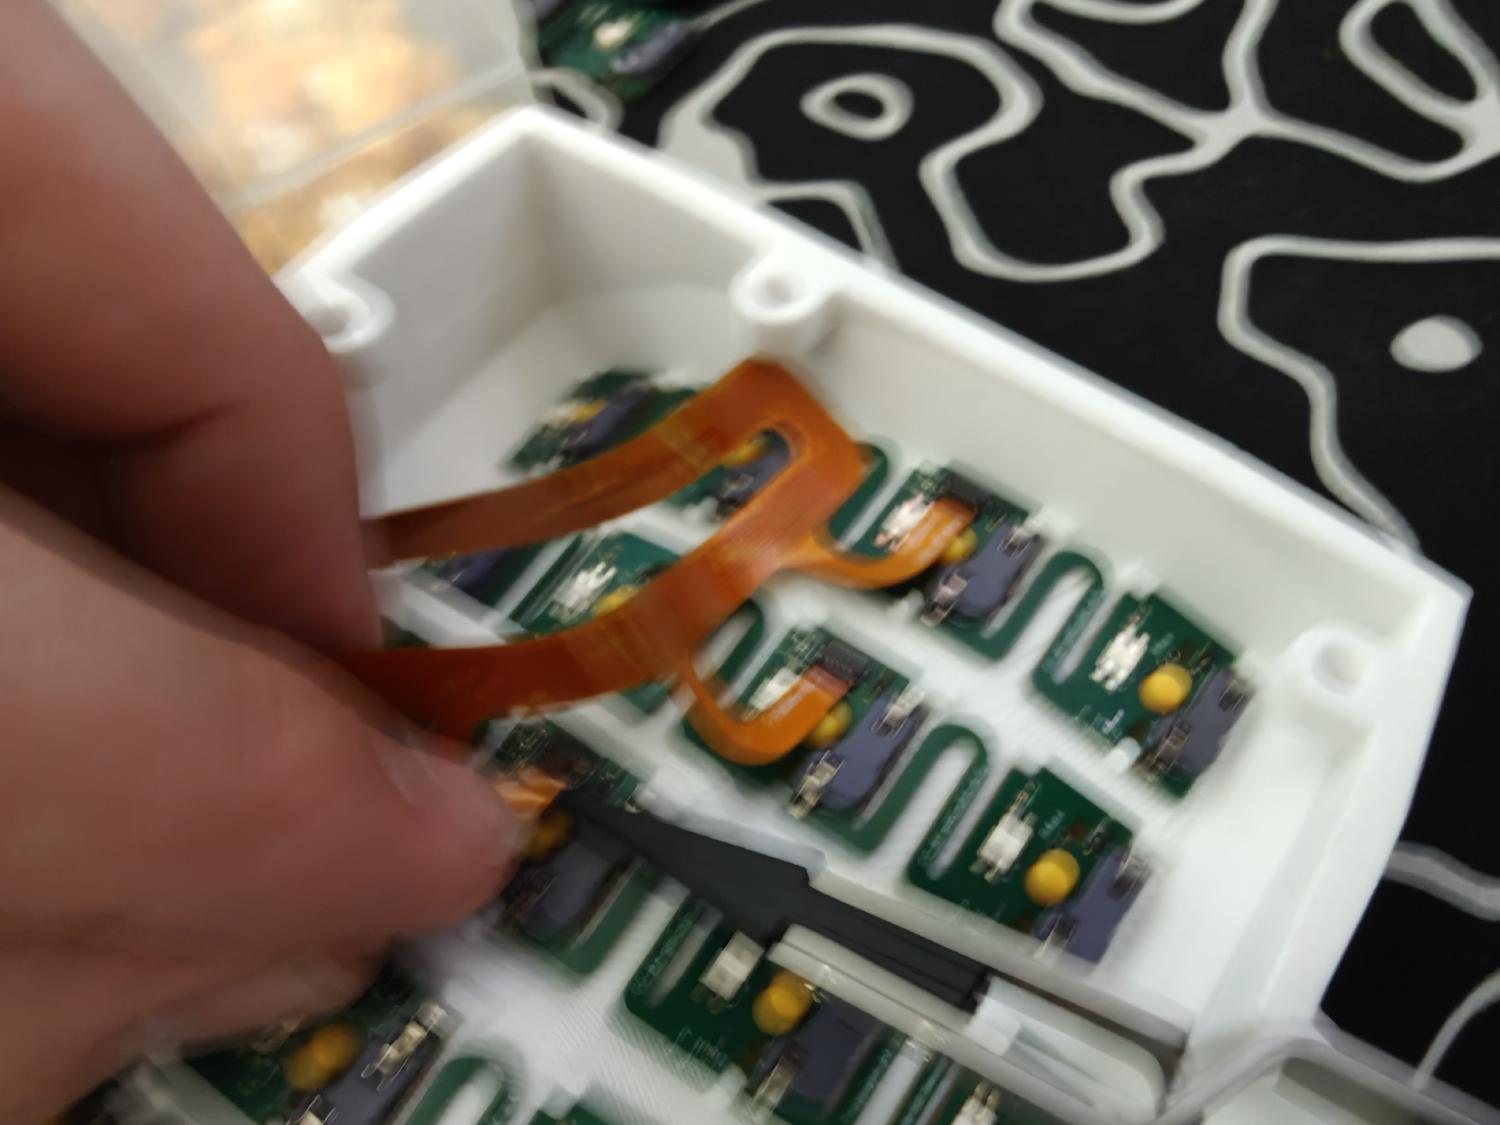
Now for what I didn’t anticipate has a hardest part for the afternoon, but getting these little ribbon cables in with the little flaps was harder than expected!
I tried getting a shot with one hand to showcase what I was doing but I had WAY too much coffee at this point so all I got is this blurry photo as proof of my sad shakey hand struggle.
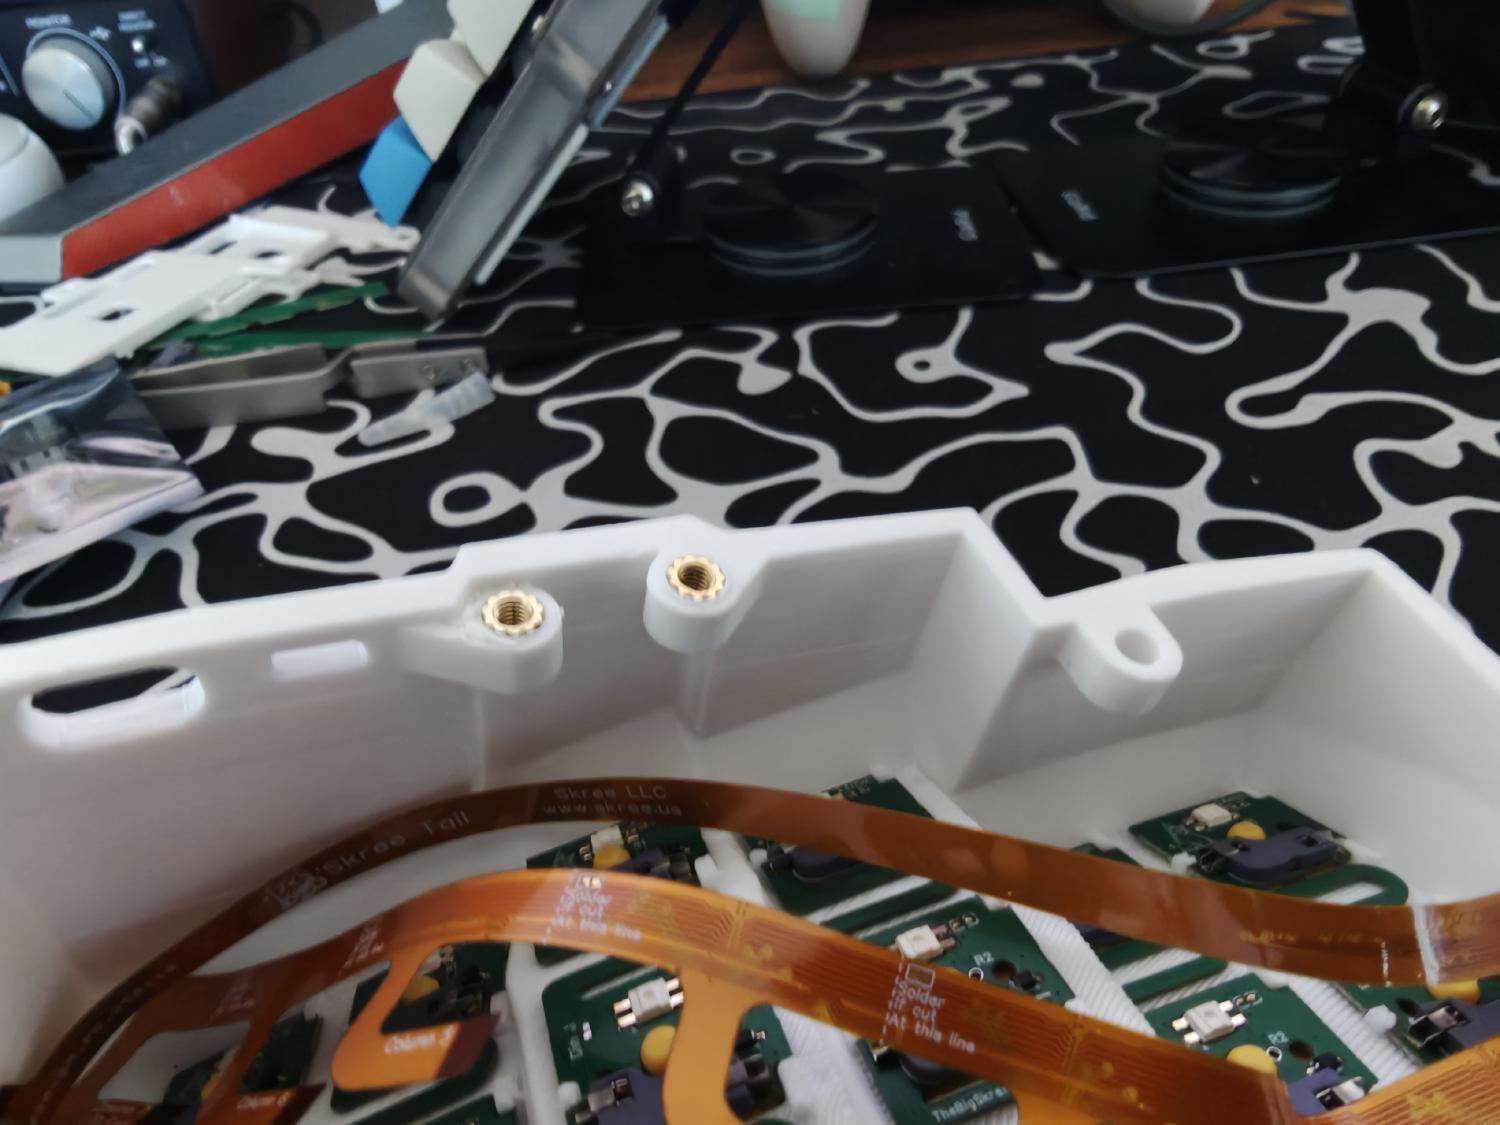
I then realized before I get to far, I should install the screwlets with the soldering iron. Basically, you just tweaser them into place and then with the soldering iron, melt them into the case.
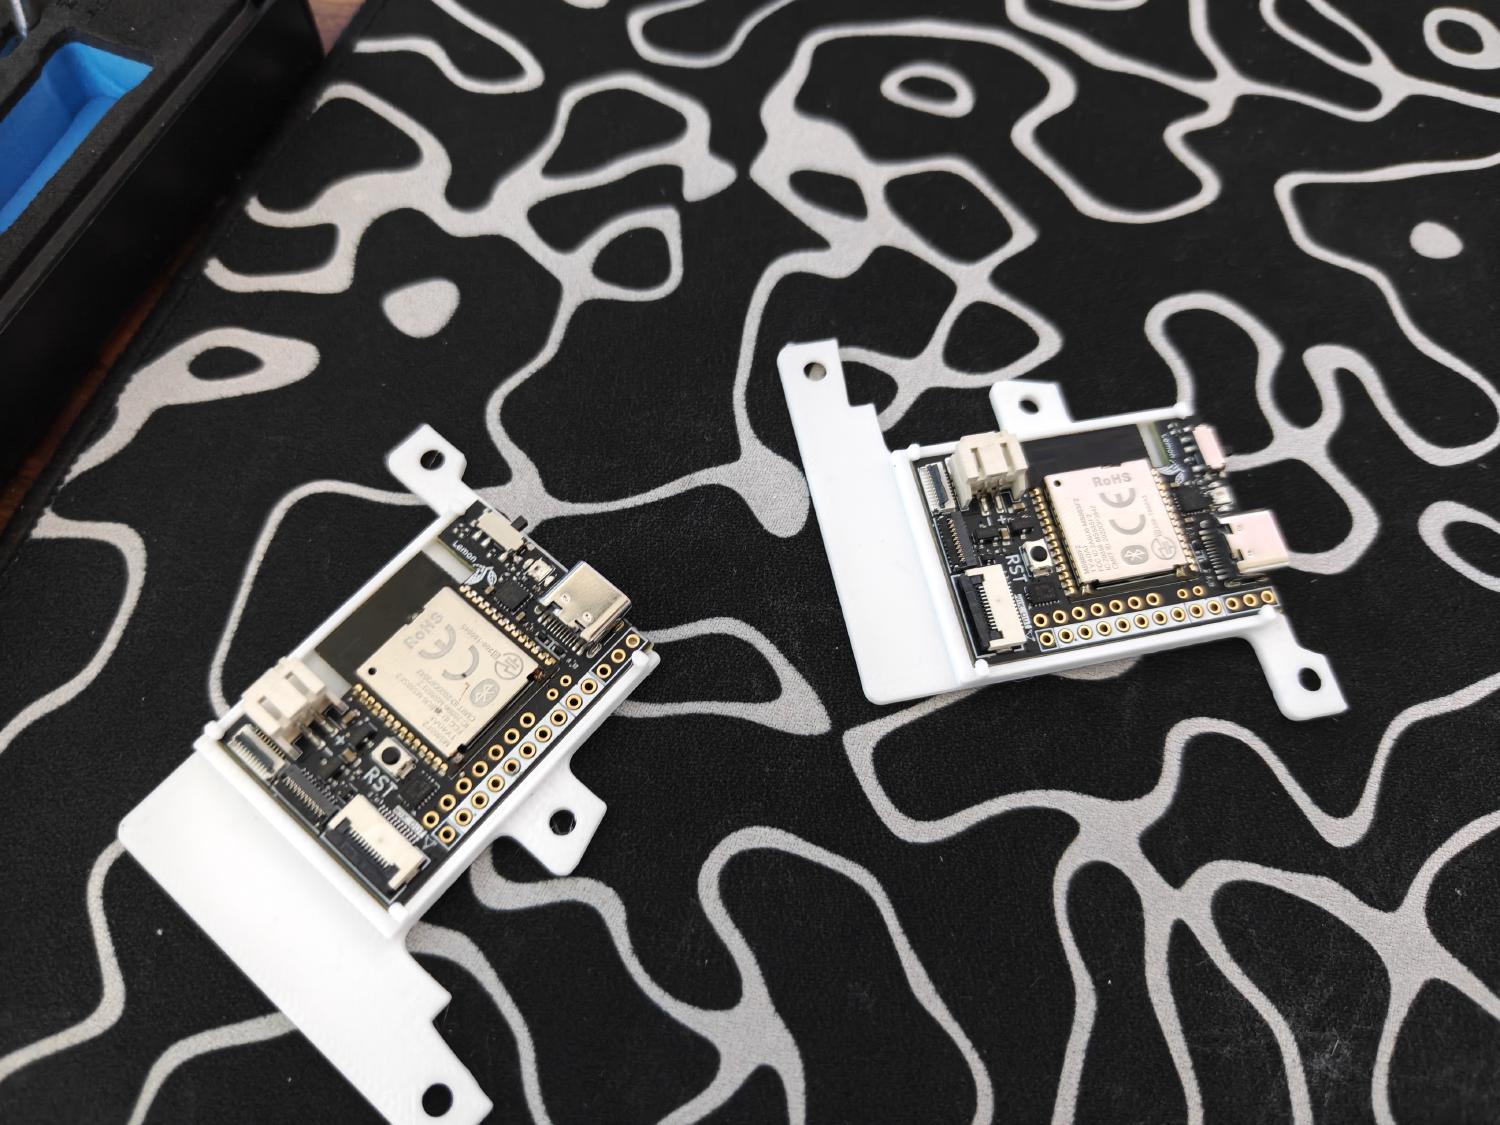
I then got a little excited since it looked more and more like a keyboard and put the microcontrollers in there little trays.
And this is where I would put the single PCB’s, IF I HAD ANY! Sorry still happy. I guess these scrap pieces can fill the gap in the void that is the thumb cluster in my keyboard.
I then hooked up the VIK to the microcontroller and mounted the plate temporary while I wait for more parts and some guidance for more of the wiring on the discord.
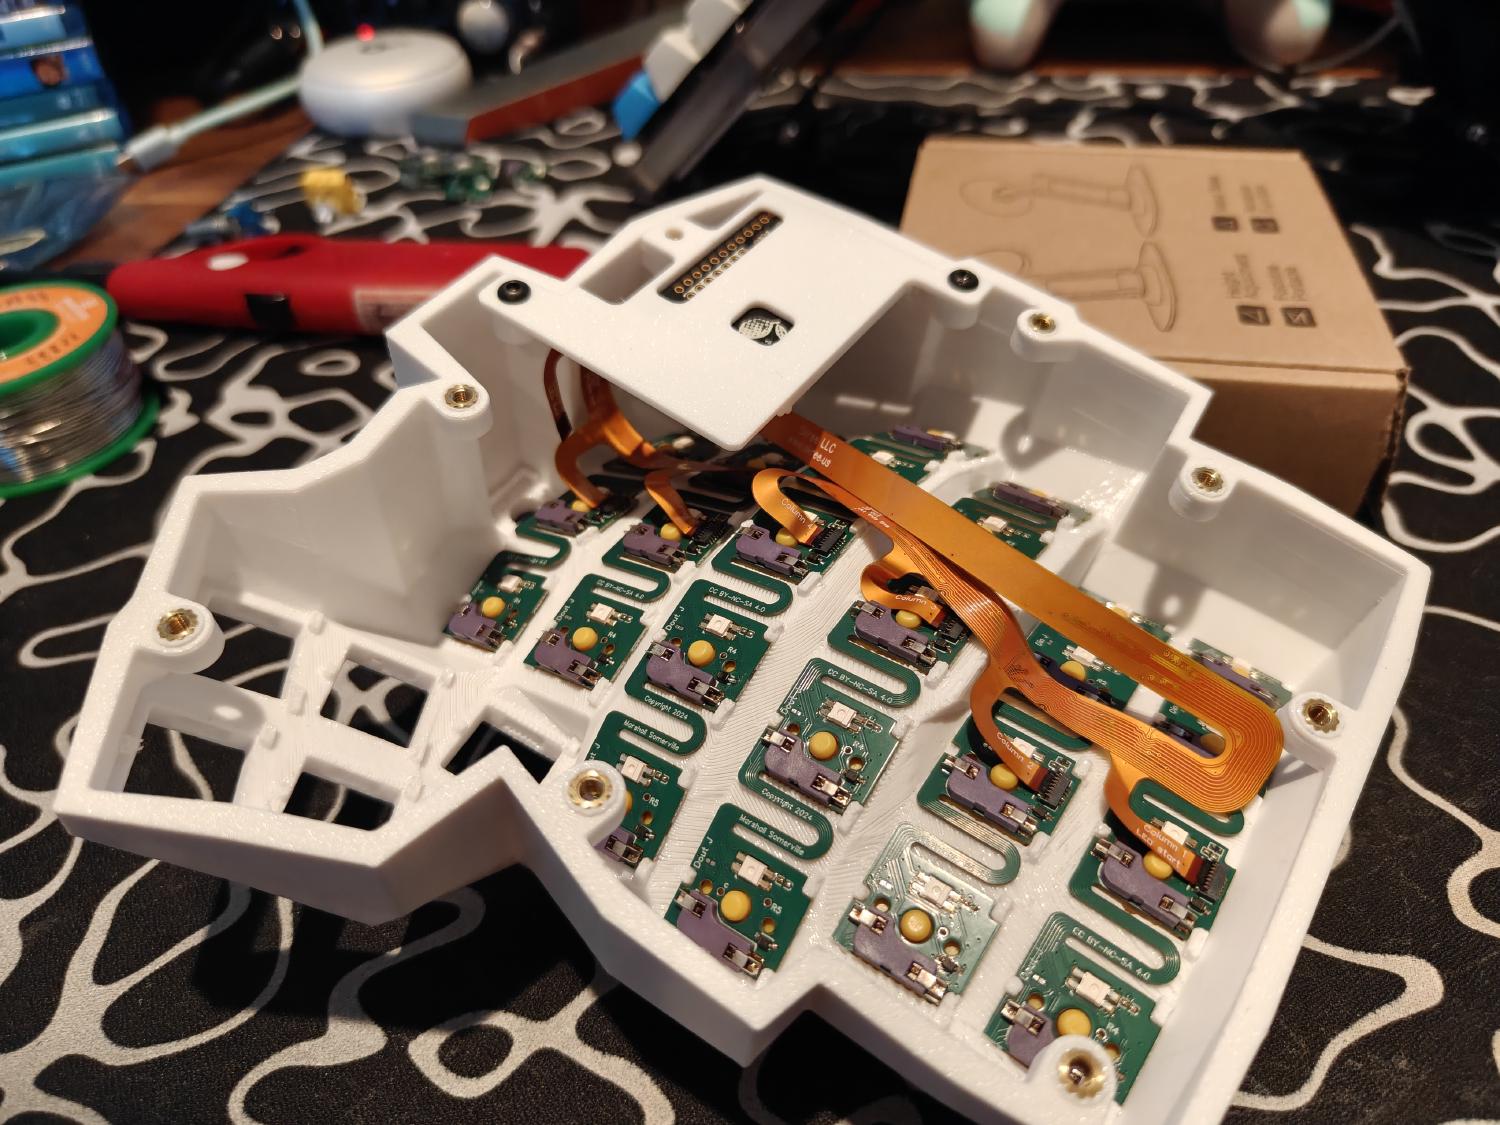
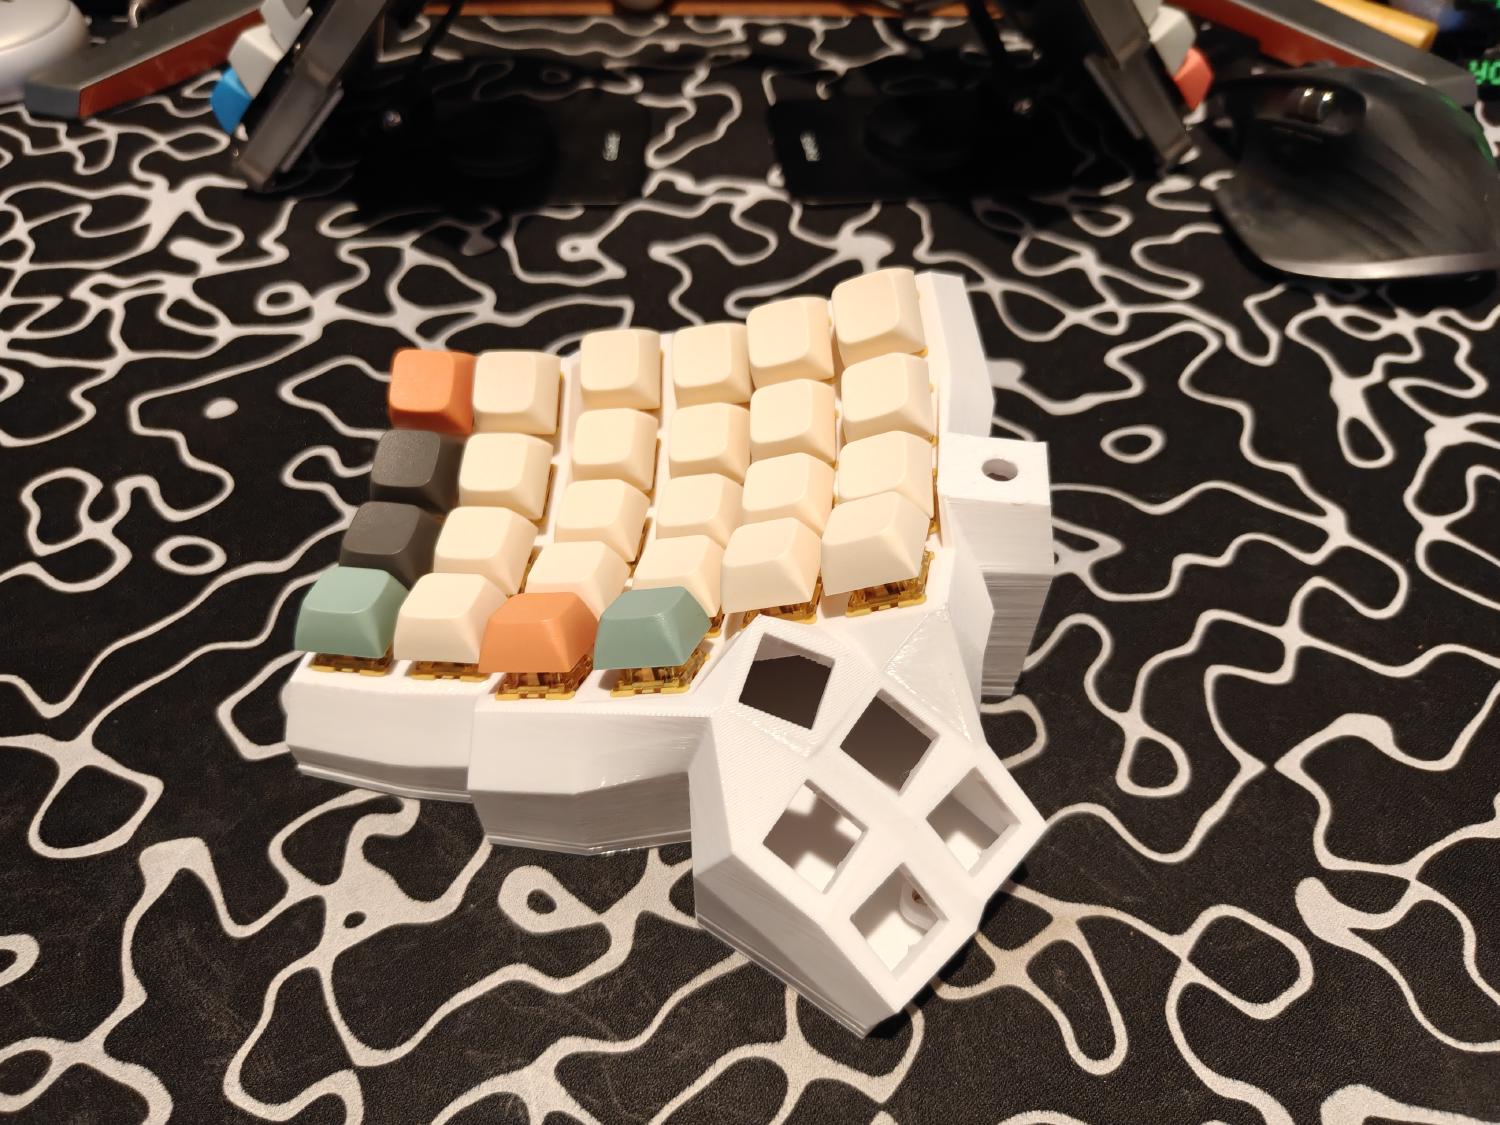
I threw on some keycaps just to feel satisfied for the time being but I’m loving the result so far.
hope to come back soon with more of the devlog. Jesse out. Peace!