I found myself needing to create a new website and stumbled across a project named Hugo! If you dont already know, Hugo is a static website generator built with the Go Programming Language. I just started using Hugo for my site (the one you’re on right now!) and it’s been one of my favorite tools for creating static websites.
At it’s core, it uses Go Templates to create webpages and markdown files for content. Creating content with Hugo is a breeze, even my grandma could do it, and the templating system allows you to create some awesome layouts!
I found that creating a Hugo site from scratch was challenging as the documentation, although thorough, doesn’t explain very well how to use it. This is a more comprehensive guide on how create your own Hugo site from scratch.
Getting Started
Firstly, make sure to go ahead and download Hugo! Instructions can be found here on there website. Once you’ve installed Hugo, go ahead and generate a new site using Hugo’s CLI:
hugo new site my-hugo-site && cd my-hugo-site
You should now see a file structure like this:
.
├── archetypes
├── content
├── data
├── layouts
├── public
├── resources
├── static
├── themes
└── config.toml
Each of these folders have there own purpose but we’ll just be covering these four:
archetypes/
a folder defining how “posts” will be generated from the CLI
layouts/
how your site will function/layout on a page/pages
public/
where the final website will be generated by hugo. if you know, you know
static/
where all of your images, stylesheets, fonts, etc… will be
Awesome! You just created your first Hugo Site! Let’s go ahead and run the hugo server so we can see what we’re doing:
hugo server -D
you should be able to now go to your browser at localhost:1313. You’ll notice there’s not a whole lot to look at. We’ll be changing that in a minute. Let’s go ahead and check out the layouts folder.
you’ll notice inside the folder, there’s nothing! reason being, you can use Hugo in 1000’s of ways and different themes have different layouts. In order to start building a basic site, you’ll need a few “default” templates. Let’s start by creating all of the default templates we’ll need for this tutorial:
mkdir layouts/{_default,partials,shortcodes}
touch layouts/{index,404}.html
touch layouts/_default/{baseof,list,single}.html
touch layouts/partials/{header,footer,nav}.html
Your layout’s folder should now look something like this:
.
├── _default
│   ├── baseof.html
│   ├── list.html
│   └── single.html
├── partials
│   ├── footer.html
│   ├── header.html
│   └── nav.html
├── shortcodes
├── 404.html
└── index.html
Awesome! Now Let’s modify the most import file in hugo, layouts/_default/baseof.html This file is as it says, the baseof. This is layout that will be used for ALL of your pages. Let’s go ahead and add some basics for our base template:
layouts/_default/baseof.html
<!DOCTYPE html>
<html lang="en">
    <head>
        <meta charset="UTF-8" />
        <meta http-equiv="X-UA-Compatible" content="IE=edge" />
        <meta name="viewport" content="width=device-width, initial-scale=1.0" />
    </head>

    <body>
        {{ partial "header.html" . }}
        {{ partial "nav.html" . }}
        <main class="main">
            {{ block "main" . }}{{ end }}
        </main>
        {{ partial "footer.html" . }}
    </body>
</html>
I can already hear you “isn’t that an index.html with some werid curly brackets stuff??” and you’d be right! If you’ve ever done a basic html/css websites, this will look really familiar.
To put simply, we are using our “partial templates” to create a basic webpage in our baseof.html. We’ll cover partials later, so don’t worry if you’re lost.
Now you can start putting stuff on your website! Let’s start with the homepage:
layouts/index.html
{{ define "main" }}
    <h1>Hello Hugo!</h1>
    {{ range .Site.Sections }}
        <a href="{{ .Permalink }}">
            <h2>{{ .Title }}</h2>
            <div>{{ .Content }}</div>
        </a>
    {{ end }}
{{ end }}
You should now be able to see “Hello Hugo!” on your website! To explain what’s going on here, we are using Hugos “blocks”. Above, we called out main block in our baseof.html and defined it in our index.html. Blocks are basically outershells that tell hugo where to put what. You can read more about it here if you’d like.
You can also see we are using this “range” thing. It’s basically a for loop iterating across the different sections of our website. I won’t dive into specifics but you can read more about it on hugo’s documentation here.
Let’s go ahead and create a header and a footer for our website!
layouts/partials/header.html
<header>
    <pre>
⠀⠀⠀⠀⠀⠀⠀⠀⢀⡴⠊⠉⠉⢉⠏⠻⣍⠑⢲⠢⠤⣄⣀⠀⠀⠀⠀⠀⠀⠀
⠀⠀⠀⠀⠀⠀⠀⠀⣻⣿⢟⣽⠿⠯⠛⡸⢹⠀⢹⠒⣊⡡⠜⠓⠢⣄⠀⠀⠀⠀
⠀⠀⠀⠀⠀⠀⢀⡜⣿⣷⣽⠓⠀⢠⢂⣣⠋⠂⣾⠼⢌⠳⢄⢀⡠⠜⣣⡀⠀⠀
⠀⠀⠀⠀⠀⢠⢻⢱⣭⠷⠤⢅⠴⣡⡻⠃⠀⢠⠁⠀⢀⡱⠜⠍⢔⠊⠀⠹⡄⠀
⠀⠀⠀⠀⢀⣷⠌⠚⠷⠆⠠⠶⠭⢒⣁⠀⣤⠃⣀⢔⢋⡤⠊⠑⣄⠳⣄⠀⣧⠀
⠀⠀⠀⠀⠀⠑⠦⣀⡤⣄⠄⢄⣀⣠⣒⢦⡄⠩⠷⠦⠊⠀⠀⠀⠈⠣⡏⠢⣿⠀
⠀⠀⠀⠀⠀⠀⣸⢫⠟⣝⠞⣼⢲⡞⣞⠋⠋⠉⠋⠓⡄⠀⠀⠀⠀⠀⣨⠂⢸⡅
⠀⠀⠀⠀⠀⣰⠃⡨⠊⢀⡠⡌⢘⢇⠞⠀⠀⠀⠀⠂⠡⡄⠀⠀⢀⠞⢁⠔⢹⡇
⠀⠀⠀⠀⣰⣣⠞⢀⠔⢡⢢⠇⡘⠌⠀⠀⠀⠀⠀⠀⠠⡌⠢⡔⢁⡴⠁⠀⢸⠃
⠀⠀⠀⢠⠟⠁⠠⢊⠔⣡⢸⠀⠃⠁⠀⠀⠀⠀⠀⠀⠀⣯⠂⡀⢪⡀⠀⠀⢸⠀
⠀⢀⠔⣁⠐⠨⠀⠀⠈⠀⢄⠘⡀⠀⠈⢆⠀⠀⠀⠀⡠⢁⠜⠙⢦⠙⣦⠀⢸⠀
⡴⠁⠘⡁⣀⡡⠀⠀⠴⠒⠗⠋⠉⠉⡆⠀⠆⠄⠄⠘⠀⡎⠀⠀⠀⠑⢅⠑⢼⡀
⢯⣉⣓⠒⠒⠤⠤⣄⣀⣀⣀⣀⡀⠐⠁⠀⠀⠀⠒⠀⢀⡀⠀⠀⠀⠀⠀⠑⣌⣇
⠀⠈⢳⠄⠈⠀⠤⢄⣀⠀⢈⣉⡹⠯⡟⠁⠀⠀⠀⠀⢸⠀⠀⠂⠀⠀⡠⠚⣡⡿
⠀⢠⣋⣀⣀⣀⣀⠤⠭⢛⡩⠄⠒⠩⠂⢀⠄⠀⠀⠀⠈⢢⡀⠀⡠⠋⡩⠋⠀⢳
⠀⢹⠤⠬⠤⠬⠭⣉⣉⢃⠀⠀⣀⣀⠀⠁⠀⠀⠀⠀⡞⢺⡈⠋⡢⠊⠀⠀⠀⢸
⠀⠈⡆⠁⢀⠀⠀⠀⠉⠋⠉⠓⠂⠤⣀⡀⠀⠀⠀⠀⡧⠊⡠⠦⡈⠳⢄⠀⠀⠈
⠀⠀⢹⡜⠀⠁⠀⠀⠒⢤⡄⠤⠔⠶⠒⠛⠧⠀⠀⡼⡠⠊⠀⠀⠙⢦⡈⠳⡄⠀
⠀⠀⢸⠆⠀⠈⠀⠠⠀⠈⠀⠀⠀⠀⠀⠀⠀⠀⡜⢸⠀⠀⠀⠀⠀⠀⠑⢄⠈⢲
⠀⠀⢸⢀⠇⠀⠀⠀⠀⢀⠀⠀⠀⠀⠀⠀⡄⠊⢠⠃⠀⠀⠀⠀⠀⠀⠀⠈⡢⣸
⠀⠀⠈⠳⣤⣄⡀⠀⠀⠀⠈⠉⠉⠁⠒⠁⠀⠠⣏⠀⠀⠀⠀⠀⠀⢀⣔⠾⡿⠃
⠀⠀⠀⠀⠀⠉⠙⠛⠒⠤⠤⣤⣄⣀⣀⣀⣔⣢⣀⣉⣂⣀⣀⣠⠴⠿⠛⠋⠀
    </pre>
    <p>AHOO</p>
</header>
layouts/partials/footer.html
<footer>
    <pre>
                             :            :
                             :            :
                             :            :
                             :            :
                             :            :
                            .'            :
                        _.-"              :
                    _.-"                  '.
    ..__...____...-"                       :
   : \_\                                    :
   :    .--"                                 :
   `.__/  .-" _                               :
      /  /  ," ,-                            .'
     (_)(`,(_,'L_,_____       ____....__   _.'
      "' "             """""""          """
    </pre>
</footer>
Now that’s a good looking header and footer! Let’s start creating some pages with some content. Go ahead back to your terminal, and type the following:
hugo new about.md
hugo new products/plumbus.md
hugo new products/rubber-ducks.md
hugo new products/bath-water.md
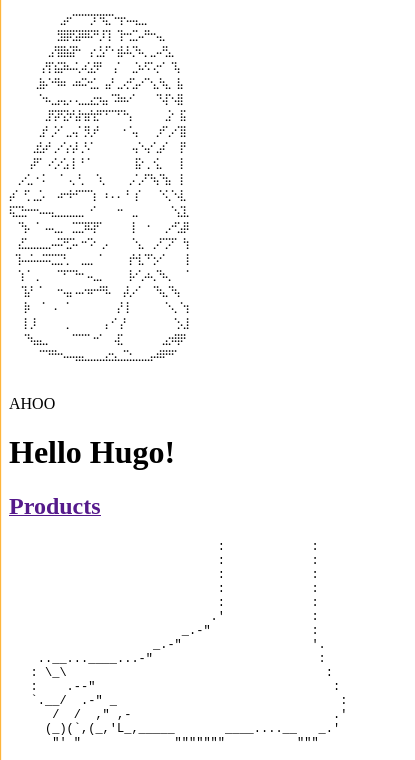
Ok, we should have some new markdown files in our content/ directory! You can put whatever you want in these files, but here’s a pic of our current website so far:

as you should notice, there’s now a products link! You’ll notice if you click on it, you’ll just be brought to an empty page. Let’s Fix that
Let’s go ahead and modify the layouts/_default/single.html and layouts/_default/list.html
layouts/_default/single.html
{{ define "main" }}
<h1>My Single Page</h1>
<h2>{{ .Title }}</h2>
<div>{{ .Content }}</div>
{{ end }}
layouts/_default/list.html
{{ define "main" }}
<h1>My List Page</h1>
{{ range .Pages }}
    <a href="{{ .Permalink }}">
        <h2>{{ .Title }}</h2>
    </a>
{{ end }}
{{ end }}
Now we can click on our Product’s link on our homepage, and we should see our products! You can also click on the individual product pages and get the product with the content. At Hugo’s core, it will use these two templates to generate pages with your content.
Now this is all great and everything, but beyond just clicking from the homepage, how do we navigate around!?!? That’s where the nav comes in :)
Let’s start by defining our entries in our config:
config.toml
baseURL = 'http://example.org/'
languageCode = 'en-us'
title = 'My New Hugo Site'

[[menu.nav]]
    pageRef="/"
    identifier = "home"
    name = "Home"
    url = "/"
    weight = 1

[[menu.nav]]
    pageRef="/products"
    identifier = "products"
    name = "products"
    url = "/products"
    weight = 2

[[menu.nav]]
    pageRef = "about"
    identifier = "about"
    name = "About"
    url = "/about"
    weight = 3
and now for the nav:
layouts/partials/nav.html
<nav>
    {{ $currPage := . }}
    {{ range .Site.Menus.nav }}
        {{ $isActive := cond ( or ($currPage.IsMenuCurrent "nav" .) ($currPage.HasMenuCurrent "nav" .) ) "green" "" }}

        <a style="color: {{ $isActive }}" href="{{ .URL | safeURL }}">
            {{ .Name }}
        </a>
    {{ end }}
</nav>
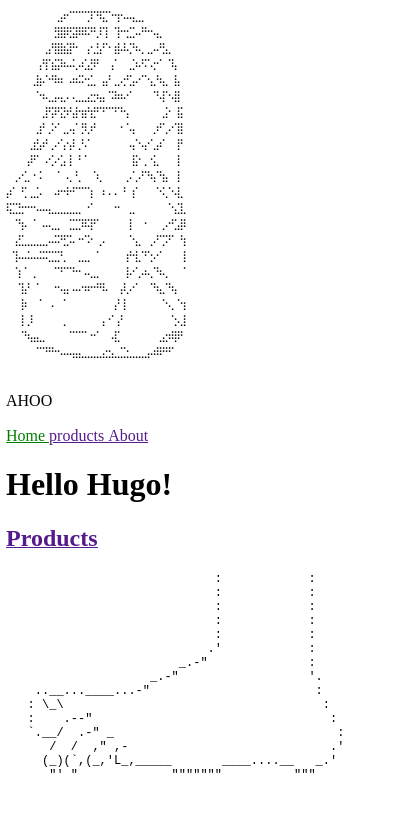
Sweet! We now have a nav to get around our website. Don’t worry too much about the logic but know that we are defining variables and using conditionals. You can read more by click on them, but just know we use it to define some logic for our nav.
You can now click around the different sections we have on our website. Here’s what our website should now look like:

Now this is starting to look somewhat like a site, but it’s prety basic to say the least. Let’s go ahead and write some css to make things look a bit better:
touch static/index.css
layouts/_default/baseof.html
<!DOCTYPE html>
<html lang="en">
    <head>
        <meta charset="UTF-8" />
        <meta http-equiv="X-UA-Compatible" content="IE=edge" />
        <meta name="viewport" content="width=device-width, initial-scale=1.0" />
        <link rel="stylesheet" href="/index.css">
    </head>

    <body>
        {{ partial "header.html" . }}
        {{ partial "nav.html" . }}
        <main class="main">
            {{ block "main" . }}{{ end }}
        </main>
        {{ partial "footer.html" . }}
    </body>
</html>
static/index.css
body, html {
    height: 100%;
}

body {
    display: grid;
    grid-template-rows: min-content min-content 1fr min-content;
    margin: 0;
}

header {
    display: flex;
    flex-direction: column;
    align-items: center;
    background: gray;
}

nav {
    display: flex;
    justify-content: center;
    padding: 0.5rem;
    background: black;
    color: white;
}

nav a {
    margin: 0 0.5rem;
}

footer {
    display: flex;
    flex-direction: column;
    align-items: center;
    background: gray;
}
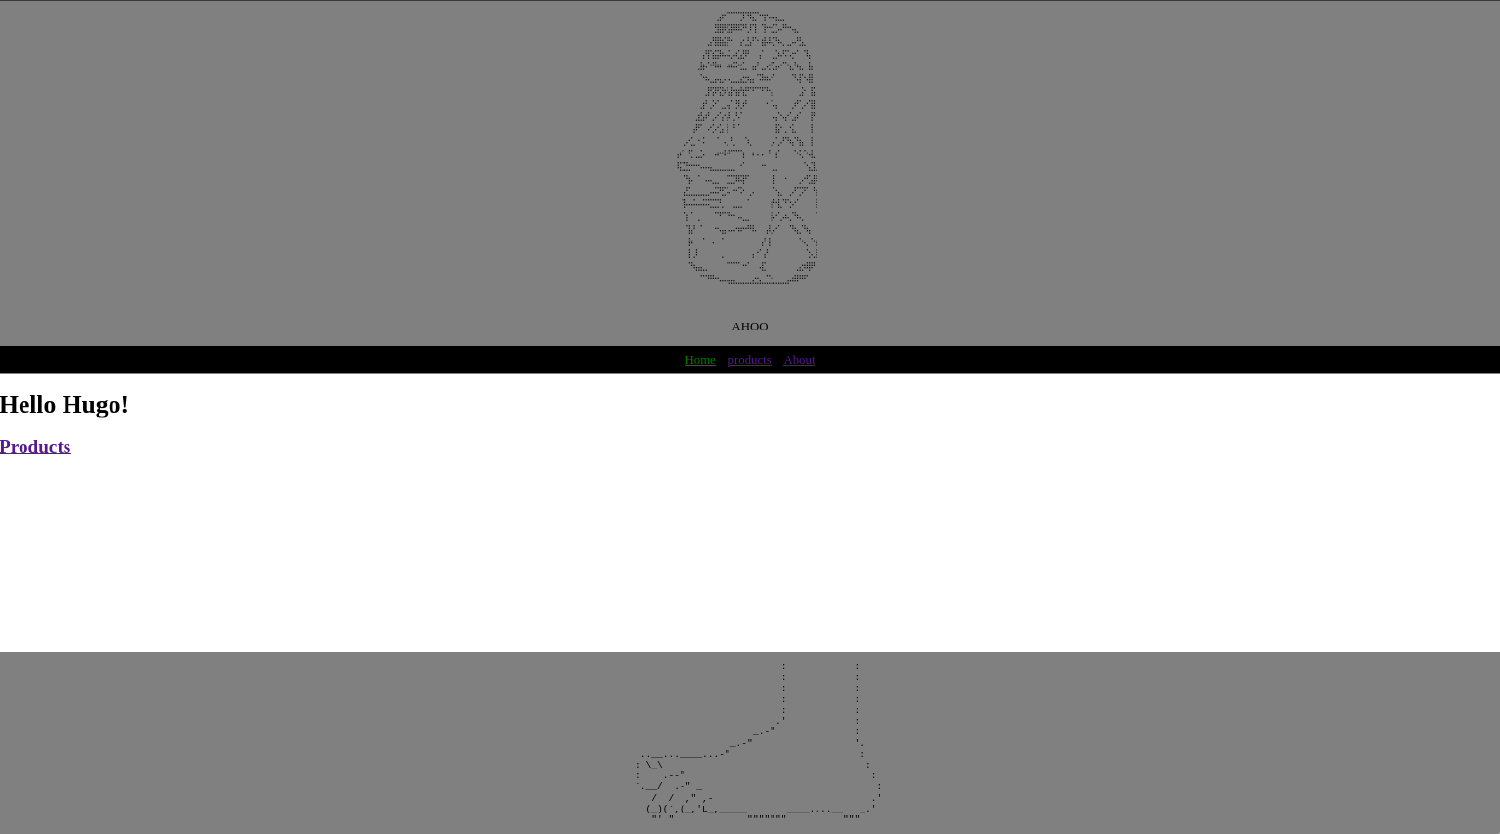
Our website should now look something like this:

Awesome! well now we need to override the about page to have it’s own layout. let’s go ahead and do so
layouts/_default/about.html
{{ define "main" }}
    <h1 class="fancy-title">{{ .Title }}</h1>
    <p>this is our template for our about page</p>
    {{ .Content }}
{{ end }}
content/about.md
---
title: "About"
date: 2022-08-10T15:03:33-06:00
layout: about
draft: true
---
ohhhwweeee look at meeee
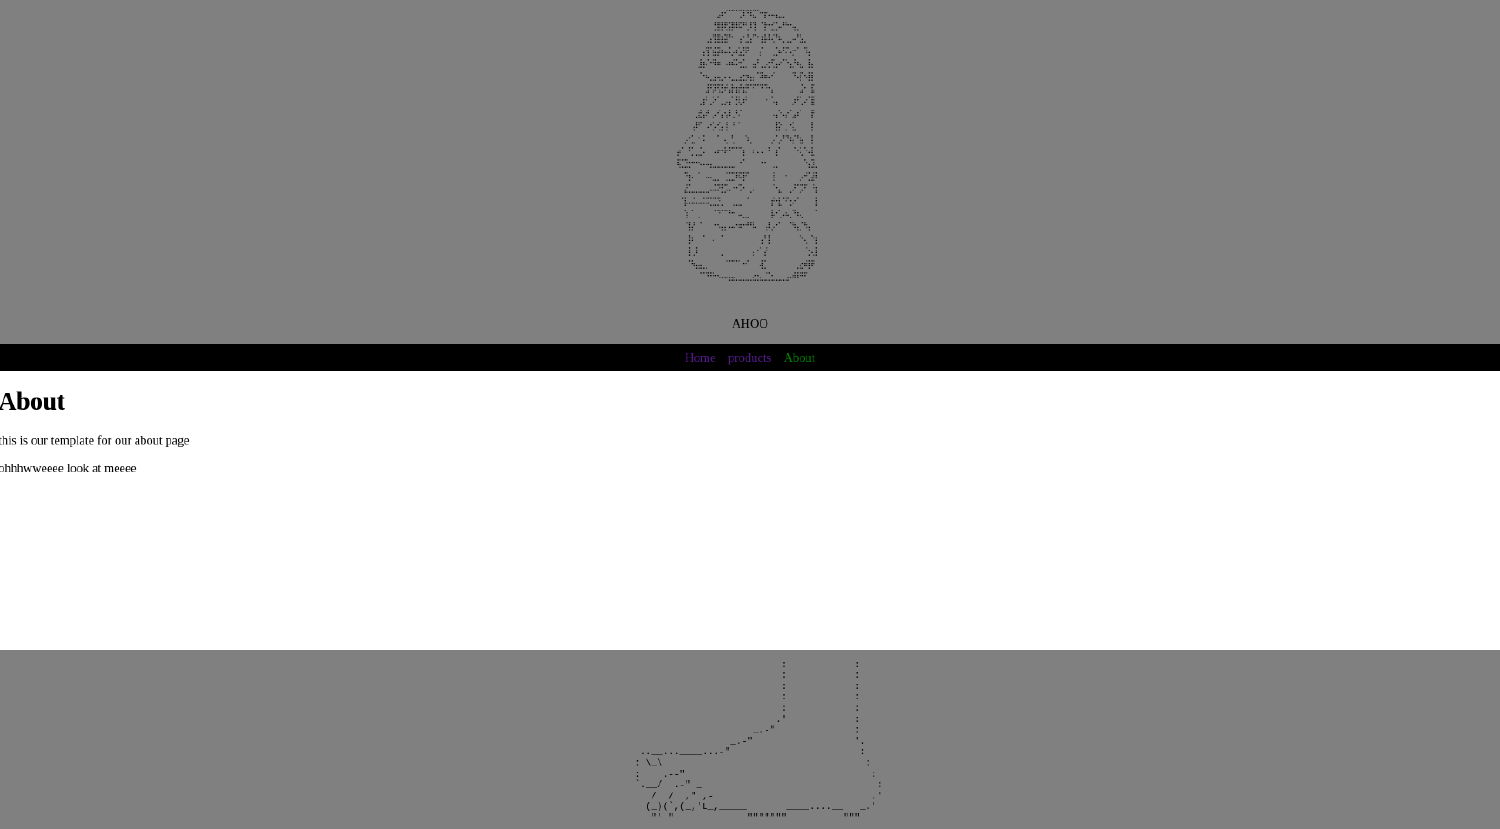
our about page should now look something like this.

Alright, I think that’s enough to get you started on your hugo journey! There are tons of things to discover with hugo and I’ve just scratched the surface. Stay tuned for more hugo content in the future.
